Temple Ruins
I am having a little creative builders block with my Arkham Asylum diorama. So I’d thought I’d throw together a small ruin piece, it’s going to be a single figure display piece. Right now I’m still working on the overall structure before I start carving in brickwork.
Building the Scene
The base of this build is a small box shape comprised of a 20 mm base piece 7.8″ x 5″, a 20 mm back wall of 6.9″ x 8.7″ and two side walls 5″ x 8.7″. I have also made two pillars which are made using corrugated cards glued onto kitchen rolls.


I am just working out the basic design layout and what type of roof should I add.
I have glued all of the pieces for the pillars together, marked out and etched in the brickwork and added a layer of 6 mm foam board to the base. When that is dry I will etch in the stone slabs, before deciding on what to do for the roof


I’ve started to make it look more like a ruin by cutting individual bricks out from the walls. I cut out a couple of pieces of foam to sit on top of the pillars, the exact name of it I am not sure what it would be called. If anyone does, please let me know!


Using some scrap pieces I made a couple of rocks that need rounding off, just to see what they would look like next.


I’ve etched it brickwork into the top of the pillars and aged the bases of each pillar and the floor.
I am now in two minds whether to add an external layer of foam to the two side walls and etch external brickwork and then whether to have solid walls or to match the external wall to the internal? Instead of using The Phantom, today He-Man is the model.


I’ve now completed this temple ruins build. First I added brickwork to the outside of the sidewalls, created a roof using 10 mm foamboard and then added 1″ x 1″ blocks around the edges. Using a hot wire cutter to carve out chunks from each block and then weathered them and external walls. I also carved a tile pattern on the underside of the ceiling.


I created a small set of steps to run along the outside of the temple and moulded one set of the rocks to fit over them. Each of these pieces has not been glued together, I’ve left it all separate to make it easier to paint before making this all a single piece diorama.


Painting the Scene
I’ve started painting. First I have given it a black undercoat and once it had dried, I mixed up a light grey with a touch of blue acrylic mix then taking a sponge I dabbed the paint over the model.


I added a black wash over the entire piece, when it dried I dried brush a light grey over all surfaces.


With the painting of the ruin complete, it’s time to start on the extras like broken bricks and gravel on the floor.
Today I started working on the accessories and to make this look like a lost ruin temple. First using some of the broken bricks originally taken from the walls, I cut them down and rolled tin foil over them and then coated them in a base black coat. When they dried, I added the same grey that I used for the walls. When that’s dried I will black wash them and then dry brush them.

Second I cut some pieces of string and coated them in a combination of black paint and modge podge. While they were still wet, I covered them with model foliage.


While they started to dry, I added modge podge to areas of the walls and floor and added a combination of foliage and diorama basing stone to give it an old and overgrown vibe. Then I added the vines to the walls.
This next set of pictures was taken while the glue was still drying and I had to be careful not to knock anything off.


I left this to dry overnight, in the morning I carefully separated the diorama and gently tapped it to free any loose stone/foliage before I repeat the same process on the two sides.


I have completed my latest diorama piece, I added foliage to external sides and pieces of brick rubble. I then dry brushed the statue to blend it in a little with the temple, before glueing all pieces except for the statue and boulder at the front together.


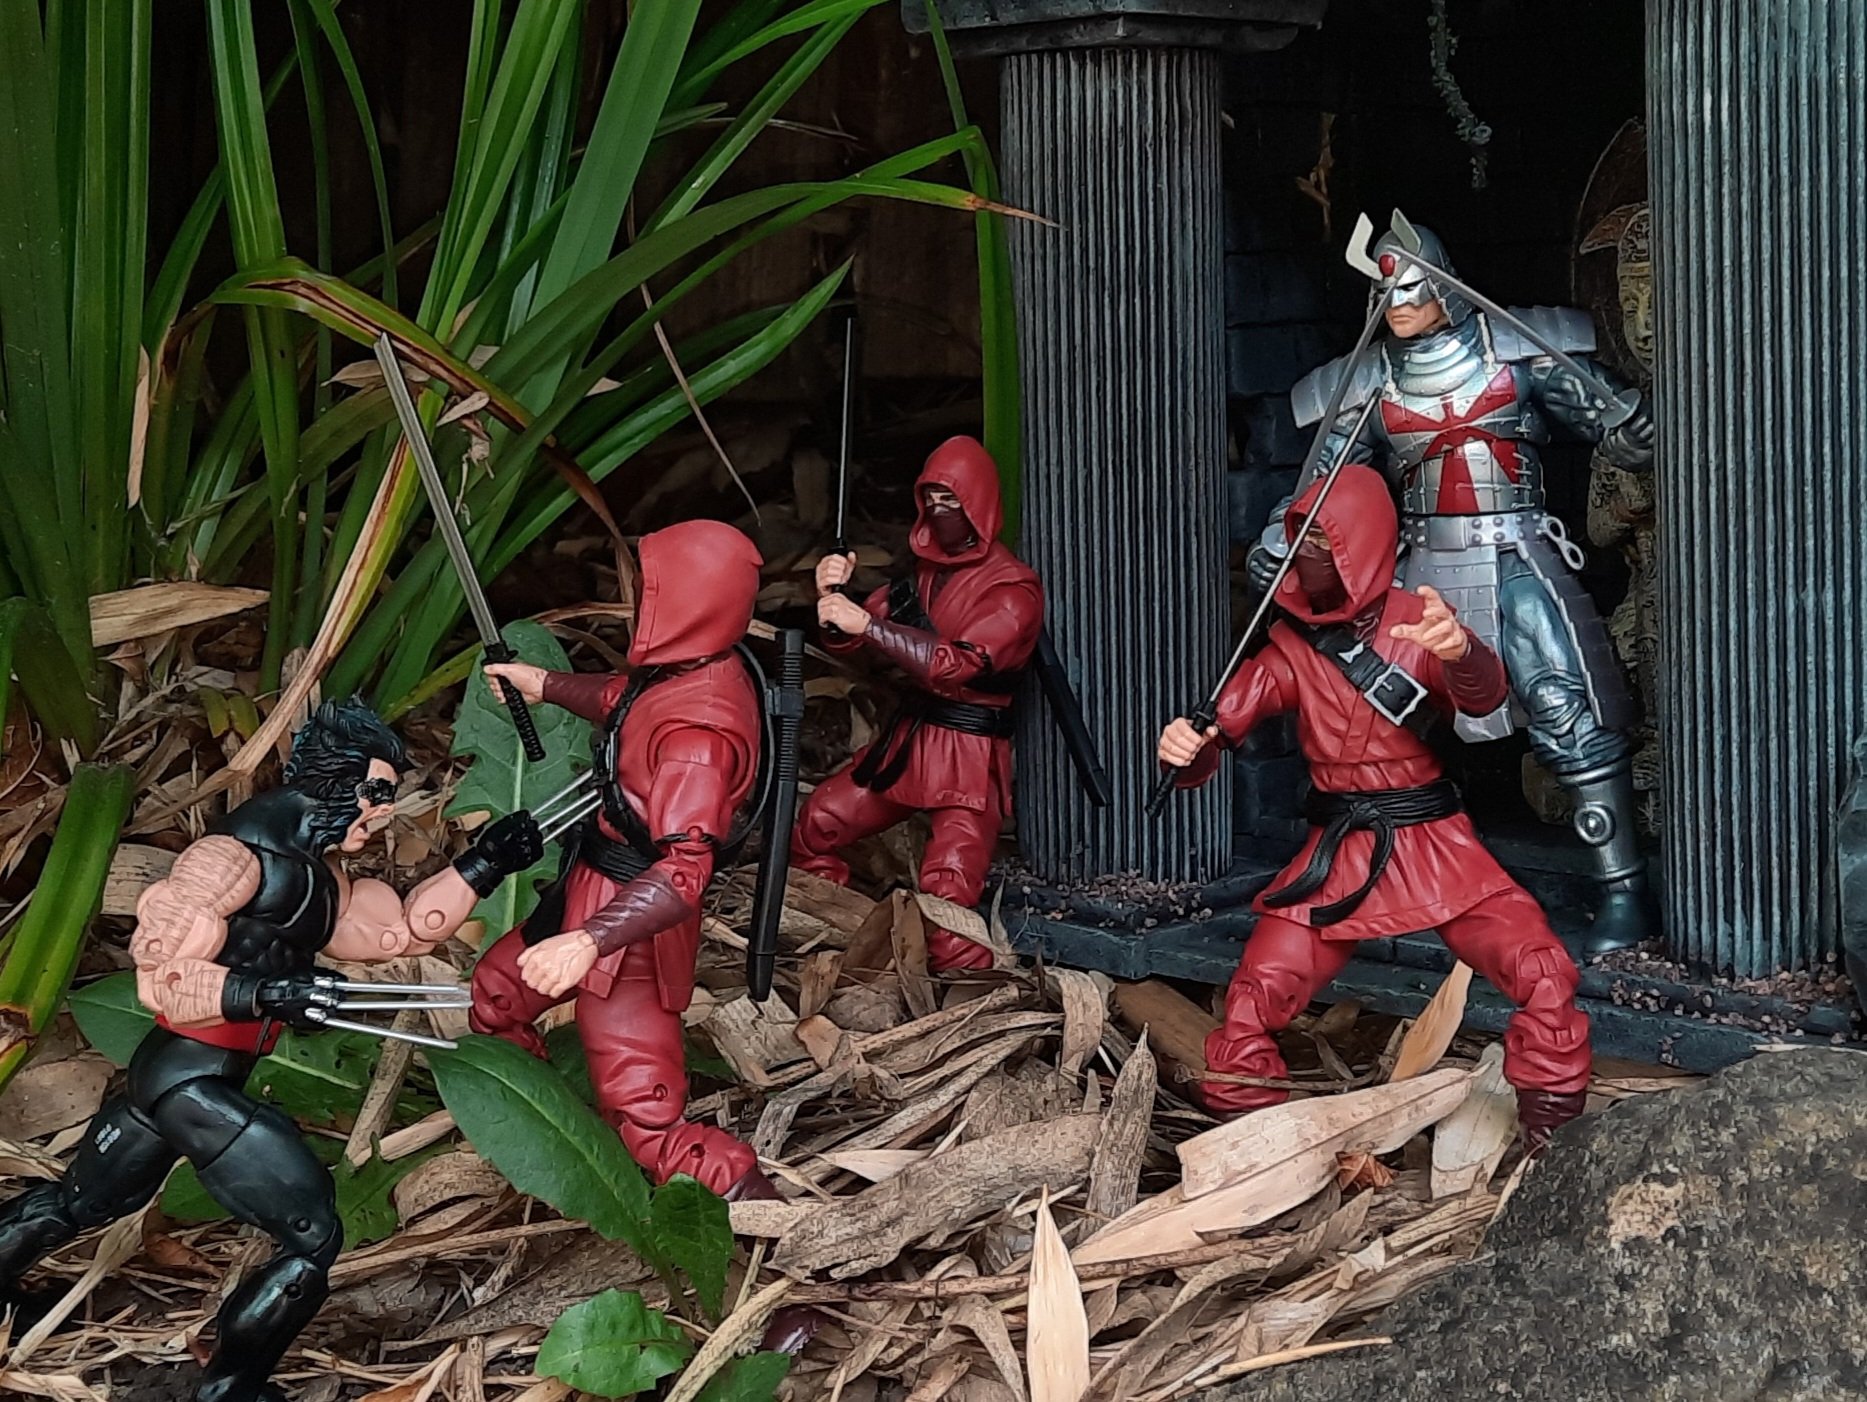
My usual final pictures will follow but as you can see, this piece is perfect for any 6″ – 7″ action figure range. Its measurements are 8″ (length) x 11″ (width) x 12″ (height) and all but the statue is made from foam board and card, making it lightweight.


Final Pictures


