Rooftop Diorama
I have been commissioned to build a rooftop diorama to the measurements of 14″ x 12″ x 15″ to fit into clients deltof cabinet for 6″ and 7″ figures.
Building the Scene
I have cut the four side pieces (2 pieces at 14″ x 6″ & 2 pieces at 12″ x 6″) with another four to which were glued onto the first four. I cut notches into the two larger walls, added magnetic tape, and added the side pieces. Notches were cut into the inner pieces and a roof piece cut giving me the basic shape to work on.


Started a new rooftop commission piece.


I started off by adding the initial brick lines going around the sides of the build. Then to hide the gap caused by using magnetic tape, I have added cornerstones to each side using a 6 mm foam board cut to 1″ × 1″ and 2″ x 1″.


I then added the rooftop ledge, 4 pieces of 30 mm board cut to 1.5″ running the length of each piece. Once they were glued into place, I marked and scored out the brickwork and weathered them.


The next steps will be to add a rooftop building and work out how it will fix the base before finishing the underneath of the base.
I’ve added another layer of foam to the underneath of the roof and carved slabs into the roof. I then started making the rooftop building, which I will leave free standing to give my client to a place where he would like to suit his deltof. The size of the building will be once the roof is 5″ x 7.5″ x 4″. It’ll be a single piece with a static door and frame and have brick carved into it. Before leaving this morning I managed to start the brickwork and add a doorframe to the front piece.


I’ve completed the brickwork on the small building and added a roof, once it is painted I’ll add an electrical box to the side. To finish I have added a smaller (what will be an air duct/chimney), again free standing for my client to a place where he wants.


Painting the Scene
I undercoated it with black poster paint, it’s cheap and wanted to see how it would work as an undercoat. Yesterday after coming home, I sponged on a deep red/brown mix over all of the brickwork and left it to dry overnight.


This morning I used a muddy brown wash over areas of the brickwork and selected bricks. After it dried I painted some fresh mortar around some of the bricks and then dry brushed a paler brown over the brickwork.


Once dry, I have then painted the cornerstones and ledge with a light grey.


I have finished painting this piece all that is left to do is add a couple of accessories and then this piece will be completed. What I did to complete the painting was with the walls, I added a black wash to all grey bricks and ledge, when it was dry I dry brushed a light grey over it.


The three unpainted areas were painted with a dark grey, which was then lighted with a lighter grey, sponged over the top. I finished off by sponging on a muddy brown wash over the areas of the model and blended them.


I’ve decided to call time on this build, bless my client for having to put up with having to wait so long while I was on jury service for 6 weeks, I don’t want to drag this out for him.
The added extras are an electrical box with cables running up and down to the right of the door with a couple of decals added.


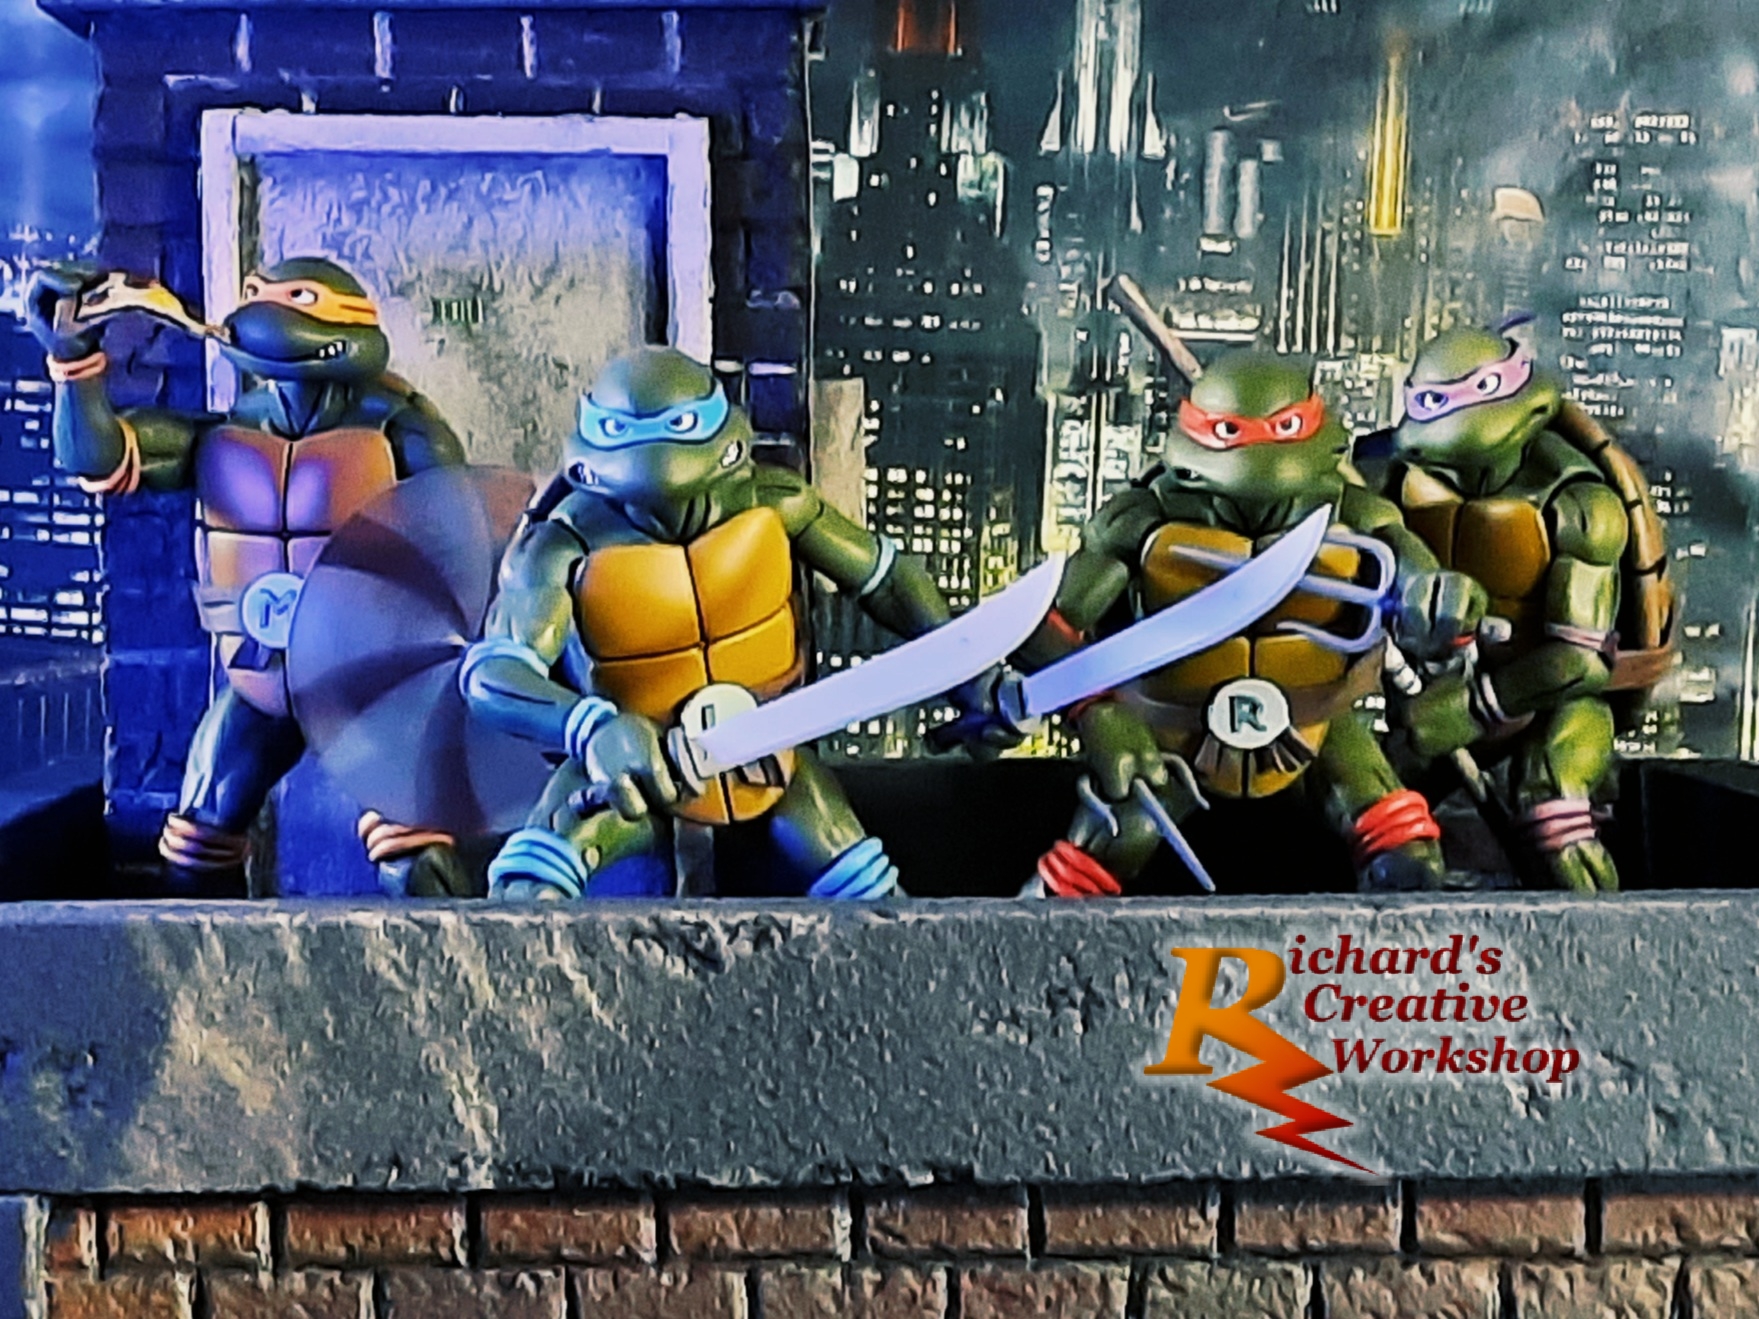
I’ve had many requests for pictures of Teenage Mutant Ninja Turtles to be included so I hate to disappoint ?


