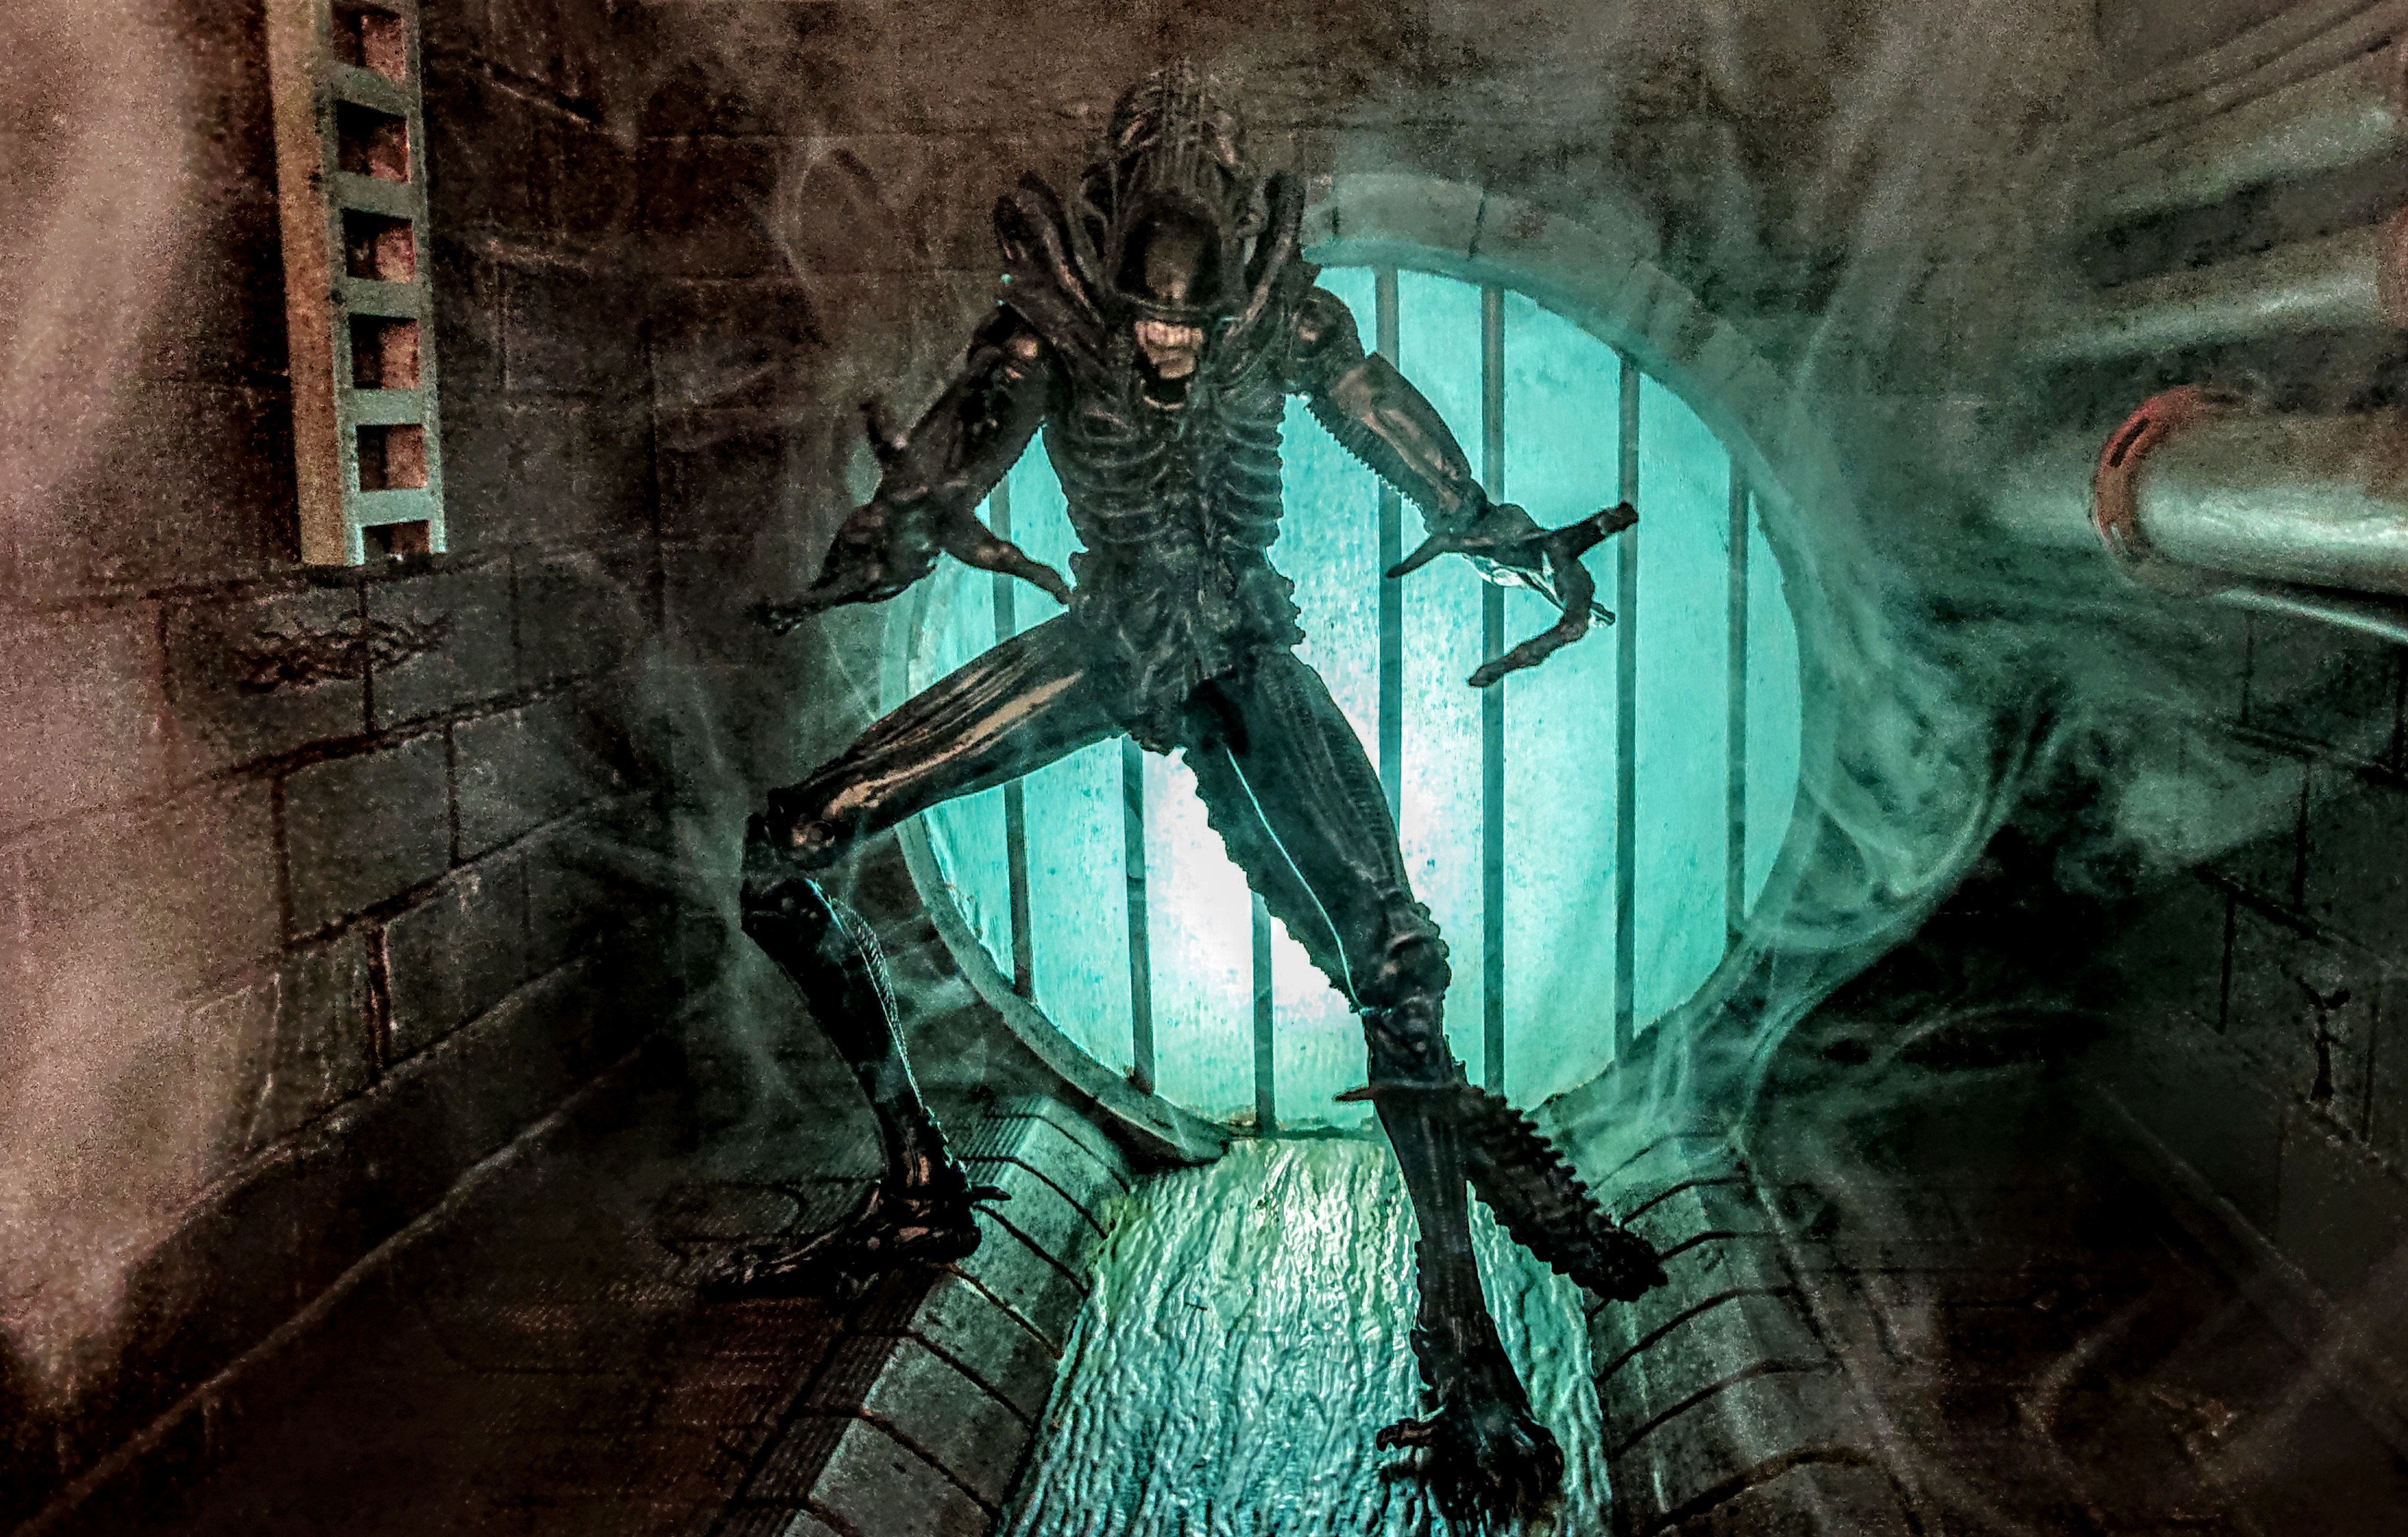
Alien Sewer
I’ve been commissioned to produce a couple of sewer dioramas, one identical to the one I had created earlier this year.
As you can see I have the basic form of one and the other two are in the process of joining this one.
With the design agreed I can now branch this piece of onto it’s own page. My client has asked for a few of changes to be made previous version. Instead of the central column with grate, he would like it replaced with a barred tunnel entrance, damp walls with multiple pipes running along the sides.
To apply the magnets to the walls I sanded all the sides down, having the magnets in place at this stage, I find it easier to work with model.
The brick work has been marked out and ready to be scored. I had marked out the size of the tunnel entrance and toyed with the idea of adding a raised smaller sewer pipe further down one of the wall.
The sewer tunnel entrance was cut, along with a frame to the tunnel. The walkways I sliced and sanded the corners of that run on the length of each.
The brick work was scored into the foam, it’s now starting to look like a sewer.
Using barbecue skewers as bars for the entrance at the end of the tunnel, each one cut down to size, pressed into the foam and then glued in place. Once they have been painted tissue paper will be placed behind the bars and then sandwiched in place with another layer of foam behind it.
Painting
I have applied a base coat consisting of watered down Burnt Umber and white, spreading the paint evenly using a mini roller. When this had dried, I added a touch of yellow into the mixture and added it to the areas of broken brick. A second coat was then added, the mixture comprising of Burnt Umber, yellow and black. This was then thinly applied over the surface of the entire diorama, making sure the paint didn’t overrun into the cracks of the walls and floor.
The walkway edges, tunnel entrances where painted using Games Workshops Mechanicus Grey, the bars where painted with Games Workshops Leadbelcher, shaded with Nuln Oil and highlighted with Games Workshops Stormhost Silver.
I dry brushed GW Longbeard Grey over all of the stone, this has helped pick out all the extra details.
Using Green Stuff Worlds River Water Sheets I have created the effect of water running through the center. The sheets where glued to the base and the walkways glued over the top.
With the barred entrance finished, I took the second piece of 5mm foam board that had been cut and glued a piece of blue tissue paper over the hole that had been cut out. This piece was then glued to the back of the barred entrance wall.
Using GW Nurgle’s Rot I applied it to the water sheet and areas of the two walk ways. Using my airbrush to spray over the surface with a light brown wash.
Using plastic piping, sprayed them metallic silver. Sprayed a brown wash over them, once dry gave them a coat of GW Nihilakh Oxide and a layer of Agrax Earth shade. Cables where fixed onto the wall to finish it off, a ladder was glued to the wall opposite.
For the final touch I painted the visible edges and the outer sides with black acrylic, this now completes this diorama.
Final Pictures


