Sewer
I’ve been commissioned to build a sewer diorama to accommodate his Marvel Legends 6″ figures.
Build
With this diorama build I will be constructing it out of foam insulation board using widths 5 mm and 10 mm. For the overall base I am using 10 mm foam board 25″ width by 16″ depth. Two walkways on either side running the length of the diorama, one side with the width of 4″ and the opposite 3″ width. A central wall at one end with a semi circle cut out to act as a grate fitted between the two walkways with a couple of little walls either side.

For the center I am thinking of using a couple of sheets of ripple water purchased from Greenstuffworld, it’s the same sheet’s I used for G.I. JOE Tiger Force Outpost diorama. I have some left over from my Stargate diorama which I have used to test.


With the basic form there I started to build upon the structure, building two walls and a second layer for both walkways. With these parts cut it is time to mark up the brick work.


I cut a crescent a half an inch width to go over the central column, I then marked on the brick work, each brick is 2″ x 1″. Once completed I took an etching tool a scored out each brick and crack. After completing the walls and central column I repeated the process on the two walkways.


I made a trench running the width of the 4″ walkway and then taking my rotary I cut off a section of piping to use as a drain pipe coming out of the wall above the trench. I then used 5 straws, cutting them down in length to use as bars from the drain.


Water sheets have arrived, I’ve loosely put them into place and now toying with the idea of using some blue foam board as a base.


At the request of my client, I built a third a wall but this one containing a circle entrance. This wall running the in parallel to other long wall, the circle cut is about 5″ diameter. I scored in the brick work to match up with the rest of diorama. I cut a ring of foam as a frame for this entrance etching stone work to it.
Magnetic strip has been used to attach the walls to the floor.


Using my rotary tool I sanded the inside of the round doorway, tidied up the edges of the overall piece. To attach the central column to the back wall using small magnets placed along the edges and married to the magnets on the back wall. I purchased a small ladder made from bolsa wood, I thought it would be ideal for this piece.


Painting
With the build completed, it is time to start painting. The base coat for the walls and floor were applied using a watered done mixture of white/black and touch of blue, applied using a sponge. The base I used watered down mixture of blue/white, once this had dried I added Burnt Umber into the mix and dabbed into the area where the water runs trough the center.


With the base coats dry, sponged over the walls with a water downed burnt umber, dabbing the paint all over. Adding a little yellow to the watered down burnt umber I repeated the process once the walls had dried. The bars were painted with Games Workshops Runefang steel, shaded with Nuln Oil.


I turned my attention to the water, using Games Workshops Nurgle’s Rot (commonly known as snot in pot) painted ripples onto the board. I laid the water sheet on top and glued it into place. I dry brushed screaming skull over the water sheets highlighting the ripples.
All some brick work was dry brushed using Games Workshops Longbeard Grey, emphasizing all the cracks and edges of the bricks. The waste pipe and the ladder had a coat of Games Workshops Leadbelcher, shaded with Nuln Oil and highlighted with Stormhost Silver.


A couple of days ago I filled the small trench with PVA glue, when it dried I had created film over the trench which meant I could then apply more PVA glue over the top. The thickness of the dried glue, gave the impression of fluid running the length of the trench, I painted over it using Games Workshops Nurgle’s rot. I poured PVA into the small waste pipe above the trench, painting it again with Nurgle’s rot once it had dried. I proceeded to apply the paint also to areas on both walkways and the small waste pipe.


There are some final little touches to be done and then this will be completed.
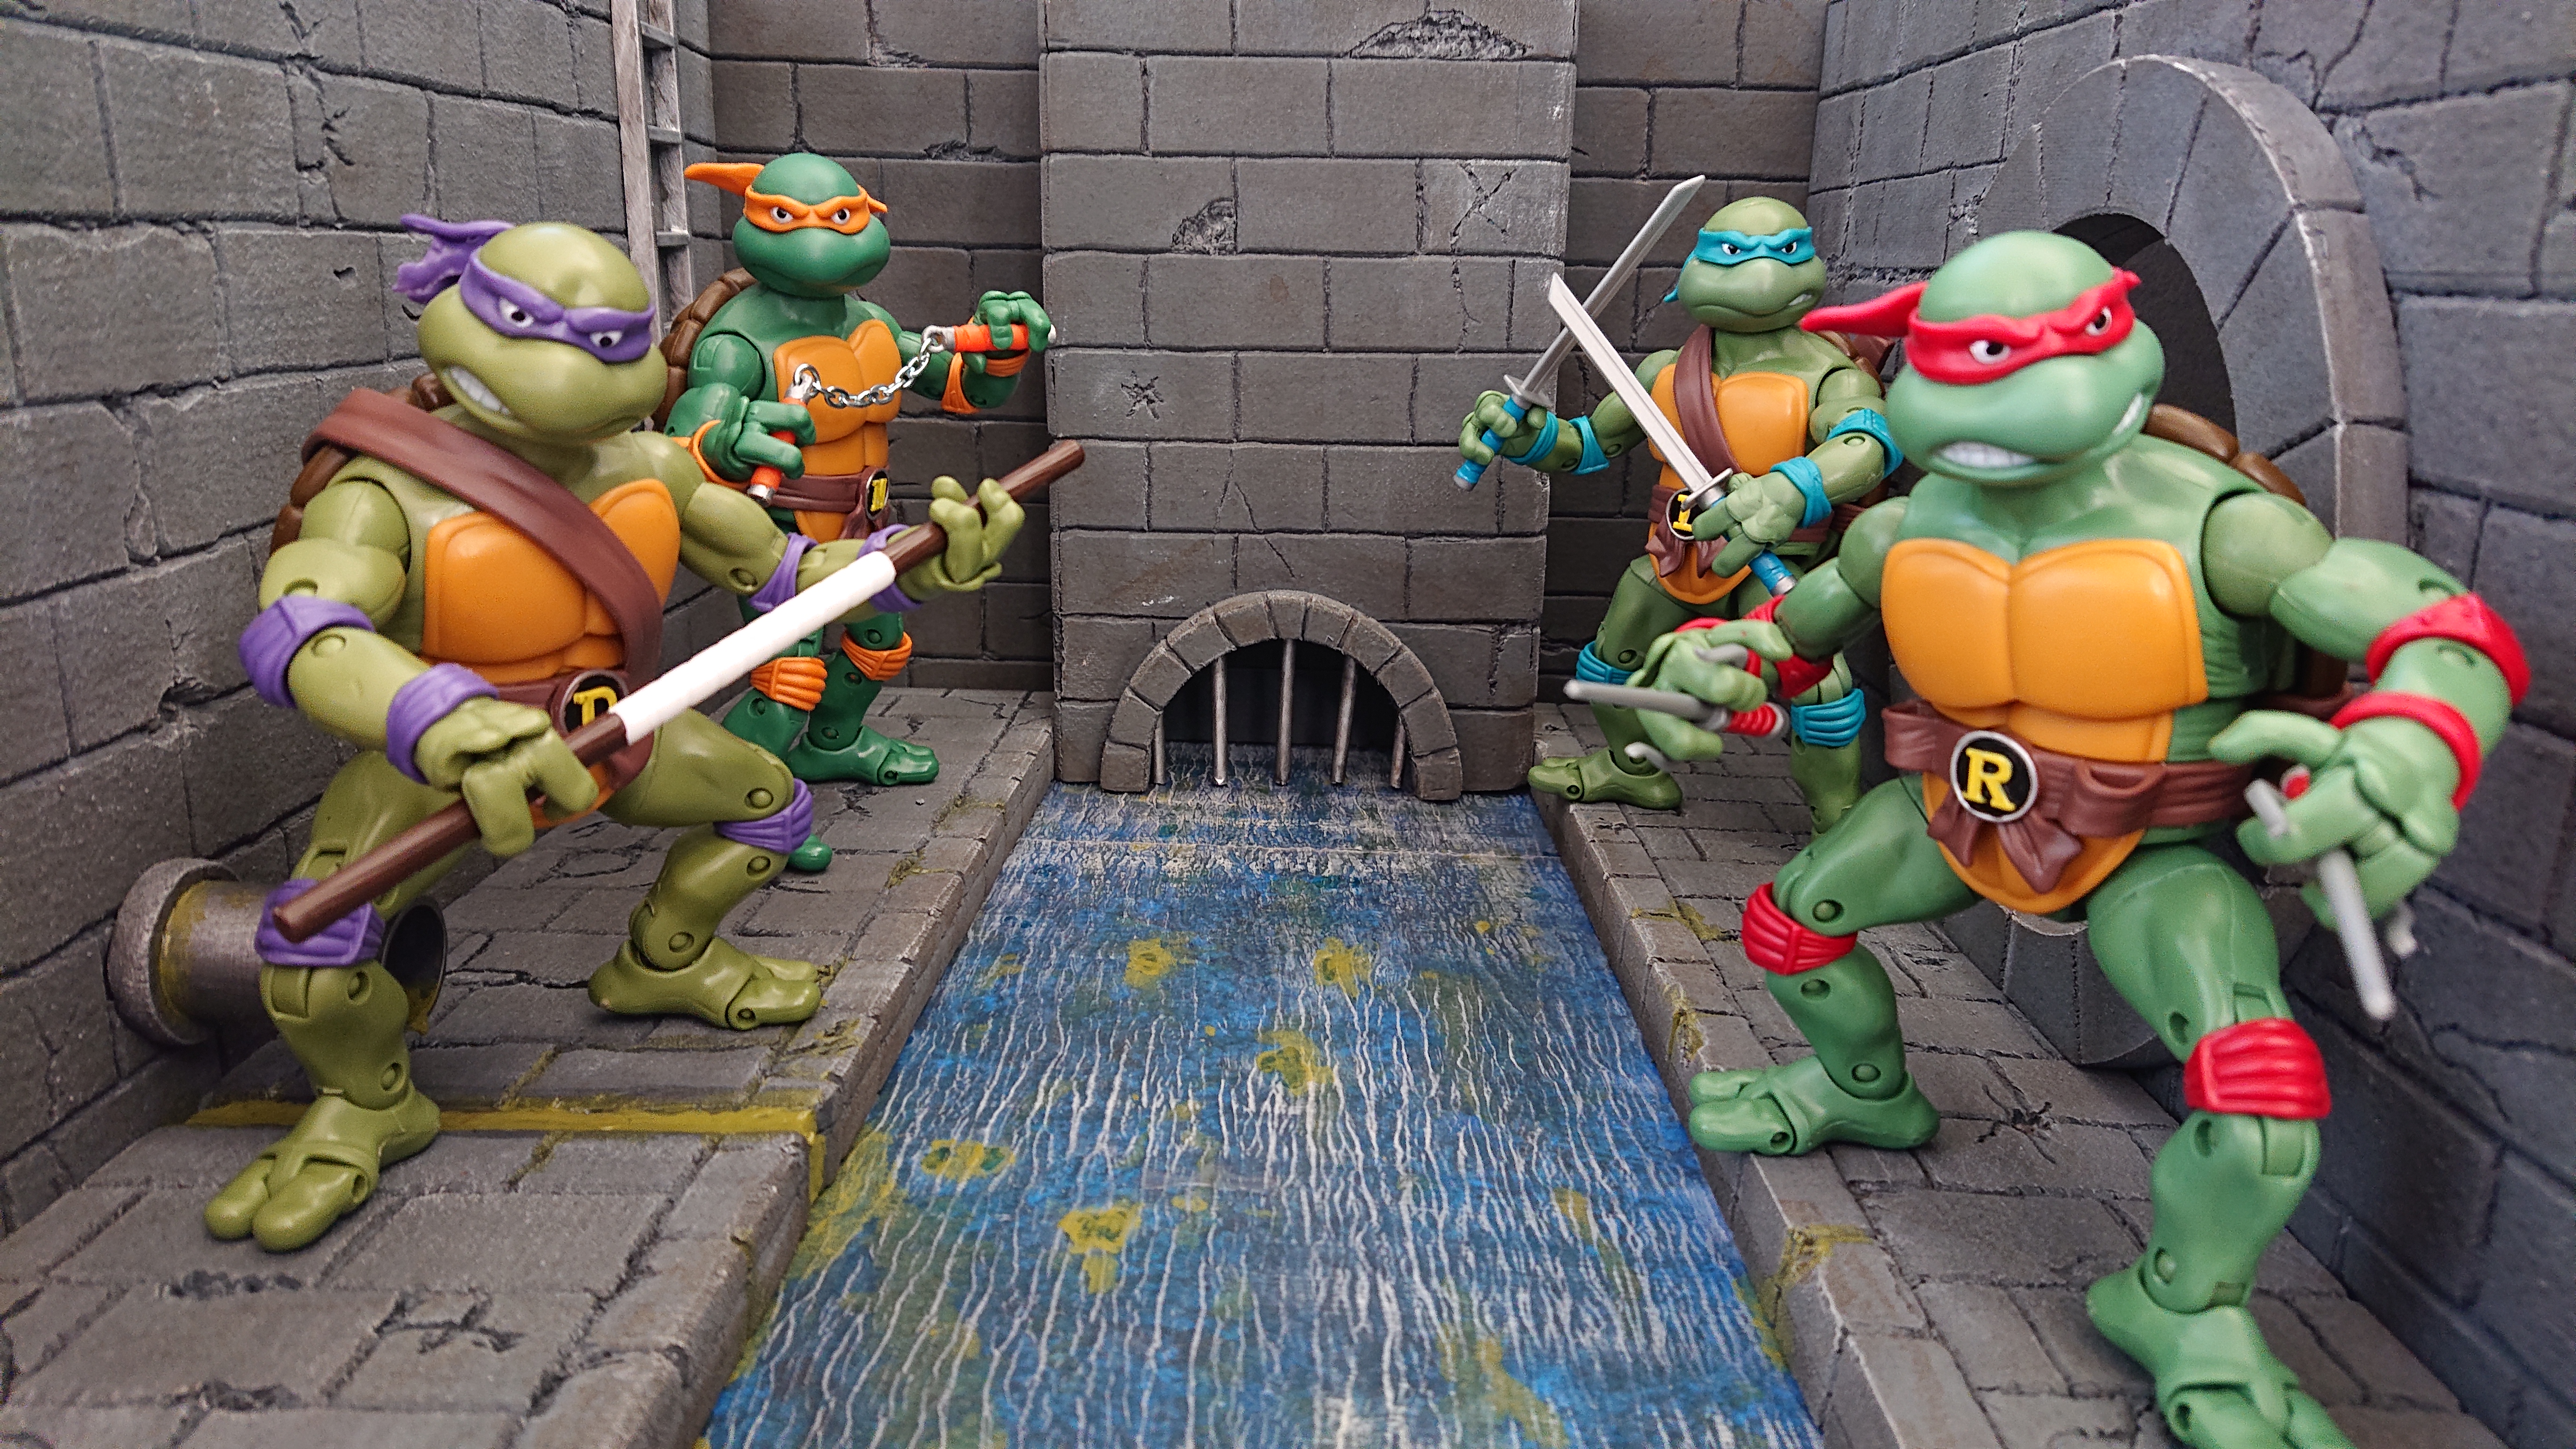
Final Pictures


