Wayne’s G.I. Joe terrain and bunker
I’ve started a new G.I. Joe commission 4 x 600 x 600 terrain tiles with a bunker, which I’ve been asked to style it on the Imperial bunker from Star Wars ROTJ. To get the design right for the bunker I’m going completely back to basics. Drawing out the design to scale before going straight to foam. I had realized with the drawing, it’s smaller than I had wanted. I will have to scale it out by at least 2 inches on either side and increase its height by an inch and half.


I have cut two of the tiles required and for scale I’ve placed Snake Eyes next them.

After spending time looking at the design, not only am I extending the bunker on either side but using bringing it forward to. Using my original thought as a porch entrance as you can see in the 3D mock up picture (not to scale!).


Now I have the design, next phase will be creating.
The Bunker
For this phase of the project I will be focusing on the bunker which is built using foam board. Using 5 mm foam board to create the frame around the tunnel leading into the bunker, behind each of them is two layers of 10 mm foam board.


For the front wall of the bunker I have carved in grills into either side of the wall, a two step porch roof added.


After looking at this I decided to add another layer of 5 mm board placed in between the tunnel and front wall, with holes cut out to display grills. This will also act as a frame for the front wall.


While trying to workout the layout and design for the inside of the bunker, I cut two pieces of 10 mm foam board to the height of the front wall and 4 inches deep. These will be the walls to the bunker, then a piece of 5 mm board which will act as the floor to the bunker.


For both side walls, I’ve cut in 11 grills at half an inch thick. Once I cut through the foam, I then scored around each rectangle with a thicker blade, pressed in the top length of each rectangle, punching them in at angle.
Cut out two frames to go around each side wall, both pieces were fitted into the front wall.


The roof was cut along with two foam circles before all the pieces were placed together and sculpted into shape.


The work started with gluing all the external pieces together, sanding them down before attaching each section of the walls together. After each wall had all their parts stuck and formed, I turned my attention to the door of the bunker.
Using a piece of 5mm foam board I cut a cross section and then glued that onto another piece of 5mm board, surrounded it with a boarder. The using 2 pieces of 10mm board to create a runner for door, this was glued to the length of the back of the front wall. The door can slide the full length of the wall.


Before finishing off the main wall, I turned my attention engraving the insides of the side walls. Drawing inspiration from the 80’s G.I. Joe cartoon and the interiors used for Cobra’s hideouts/bases/lairs, using this type of style to carve in panelling into each wall along with an 80’s style tape recorder.


Work began making the final wall match the décor of the other two walls. To start with I cut another piece of foam which would fit on the right side. This stops the door from being able to slide across both sides. With that piece in place I scored the same style of pattern across both untouched pieces of foam and across the pelmet that runs the length of the wall.


What is left to be done with the bunker is:
• As detail to the floor.
• The roof circles need the Cobra insignia applying to them.
• Paint and fixing all pieces together.


The final section of this build completed, floor panels have been etched into the foam all the remains is to sand the floor ready to be painted.


I have done a little work on the roof to which it now matches style of the bunker, I need to cast a couple of Cobra logo’s which will stuck on top of each of the circular vents. This can be done after I have started to paint bunker.


This weekend I have been busy painting the bunker, first applying a black undercoat to all pieces. Once they were dry, a grey coat was added over the top. A coat of desert sand to border of the side walls, the front wall and front porch. Gun metal grey was used on the door, the dome vents and the wall vents followed with silver dry wash over the wall vents. Unfortunately, the floor started to disintegrate, the exposed foam reacted very badly with the black spray paint. I cut another piece of 10 mm foam, then cut the original scored tiles form the other piece, painted them silver and stuck them down on top of the new piece.


On the inside, I painted individual panels with a combination of grey/silver/gun metal grey then a silver dry wash over the top. The more I looked at it the more I was not happy with the look, instead of looking metallic the inside look was dull and grey.


Taking my airbrush I gave all the walls a gold wash after going over some of the tiles and made the colours bolder. The gold wash lightened up the walls, giving it the 80’s cartoon feel I was looking for.


With all the pieces painted and dry, it was time to glue all pieces together before doing the final touches to the bunker.


Using my airbrush I sprayed a dark grey wash over the floor and the bottom half of the bunker to weather it.


While this was drying, I took the mould I had made for the Cobra Stun hubcaps and cast two more, once dried I painted them in dark gunmetal grey and red for the Cobra logo. These were then glued to the dome vents on top of the roof.


With the bunker complete I can now start on the four 600 x 600 tiles.
Helipad
Before I start work on the terrain tiles, I wanted to add a helicopter pad which could be added to one of the tiles. Made from two pieces of 10 mm foam board, the bottom rectangle piece with one inch squares carved across the surface. the top circle nine inch diameter across with one diameter boarder carved into it, along with a “H”. Both pieces glued together, with a grey base coat which was built up with grey/silver coat, silver for the top ring, green surrounding the “H” and white for the “H”.


Terrain Tiles
The original commission was to create four 600 x 600 squares, with the bunker and helipad done I can spend time building these. An idea is to have a border going a round two of the four edges, this way the tiles could be rearranged to suite the users needs. At present only two of the four are cut with borders drawn into them to see how they would look and with the bunker and helipad loosely added to them before a layer of sand is added to each.


I’ve cut the other two terrain tiles and been in talks with my client on how he wants them set up. We’ve agreed that the bottom two tiles will have a sand texture across 3/4 of them while a 8″ width road runs across them. The helipad will be glued into pace and surrounded by sand, while the bunker will not be glued (due to shipping) but also will be sat on sand. A two inch border runs along the edges of two sides of each tile.


The strips were cut which are to be used as borders on two edges of each tile, each strip has a two inch width. I decided to make one set overhang and the other cut shorts by half an inch, this makes them interlink. and interchange with one another.


Two inch squares where cut into the border, then the sides were sanded and the edges of the borders softened.
I took two pieces of 5 mm foam board for the road, I took my steam cleaner and used it to remove the top card layer. When top layer had been removed, they were glued onto the tiles and a black base coat was applied. Once it was dry I airbrushed a light grey coat evenly over both boards, I also added a couple of pot holes.


I began painting the borders of each tile with a light grey, using a sponge to dab the paint on. Doing this I was ale to get a nice even coat all the way around, then using a brush to to paint the sides.


The road, I have added a couple more pot holes and cracks in the tarmac, being a dessert road and with today’s standard of roads it needs imperfections. I then used to the sponge and lightly dabbed paint across the road and then gently blended it all in to lighten the tarmac. Where I will use my airbrush to then weather it.


Mixing sand with PVA glue and water, the mixture was spread evenly over the tiles. The first tiles done were the helicopter pad and one of the road tiles. With the addition of the sand, it has trebled the weight of each tile.


After 48 hours the first two tiles are dry that applying sand to the other two tiles could begin. Due to the weight of the sand, I have had to add another piece of 600 x 600 5 mm foam board to each of the four tiles to help strengthen them.


I have embedded a piece of foam board onto the tile which the bunker will be housed, it is then surrounded by sand giving the bunker a foundation to sit on.


Another couple of sand/water/PVA mixtures were made and spread evenly over the two remaining tiles. Once they are dry I can start doing the final touches:
- Paint touches to the road
- A black border edges on each tile.


Before I started working on the final touches, I had to take some test pictures for my client on what he could do with his diorama and the overall size of it. You have to agree it is very impressive.


After seeing all the tiles put together there were some final paint touch ups to hide any exposed foam board. A black boarder around the white foam board base, and a second coat of grey on the two borders of each tiles. For the road and sand areas, I touched them up using a sandy brown hiding any exposed blue foam and to weather road.


The barriers
The final part of this commission build is to create eight barriers for my client to position where ever he would want them. The barriers are made from 10 mm foam board, each one cut to 5 inch in length and 2 inch high (not including the base). The base of each I have gone a quarter of an inch in, using a sharp blade I have cut diagonally across both sides to create a ramp (mind your fingers!)


h the 5 x 2″ blocks, I have scored them on both sides at 2.5″ from top to bottom, making them look like they are two slabs joined together. In the centre of each slab a rectangular hole has been pressed in on either side.
With all eight of the barriers made I gave the one face of three of them battle damage, applying bullet holes and crack in the concrete. This giving my client variation when photographing his figures on his diorama. With the changes made it was time to apply paint to them. A light grey base coat was applied first and then weathered using my airbrush.


The completed Diorama
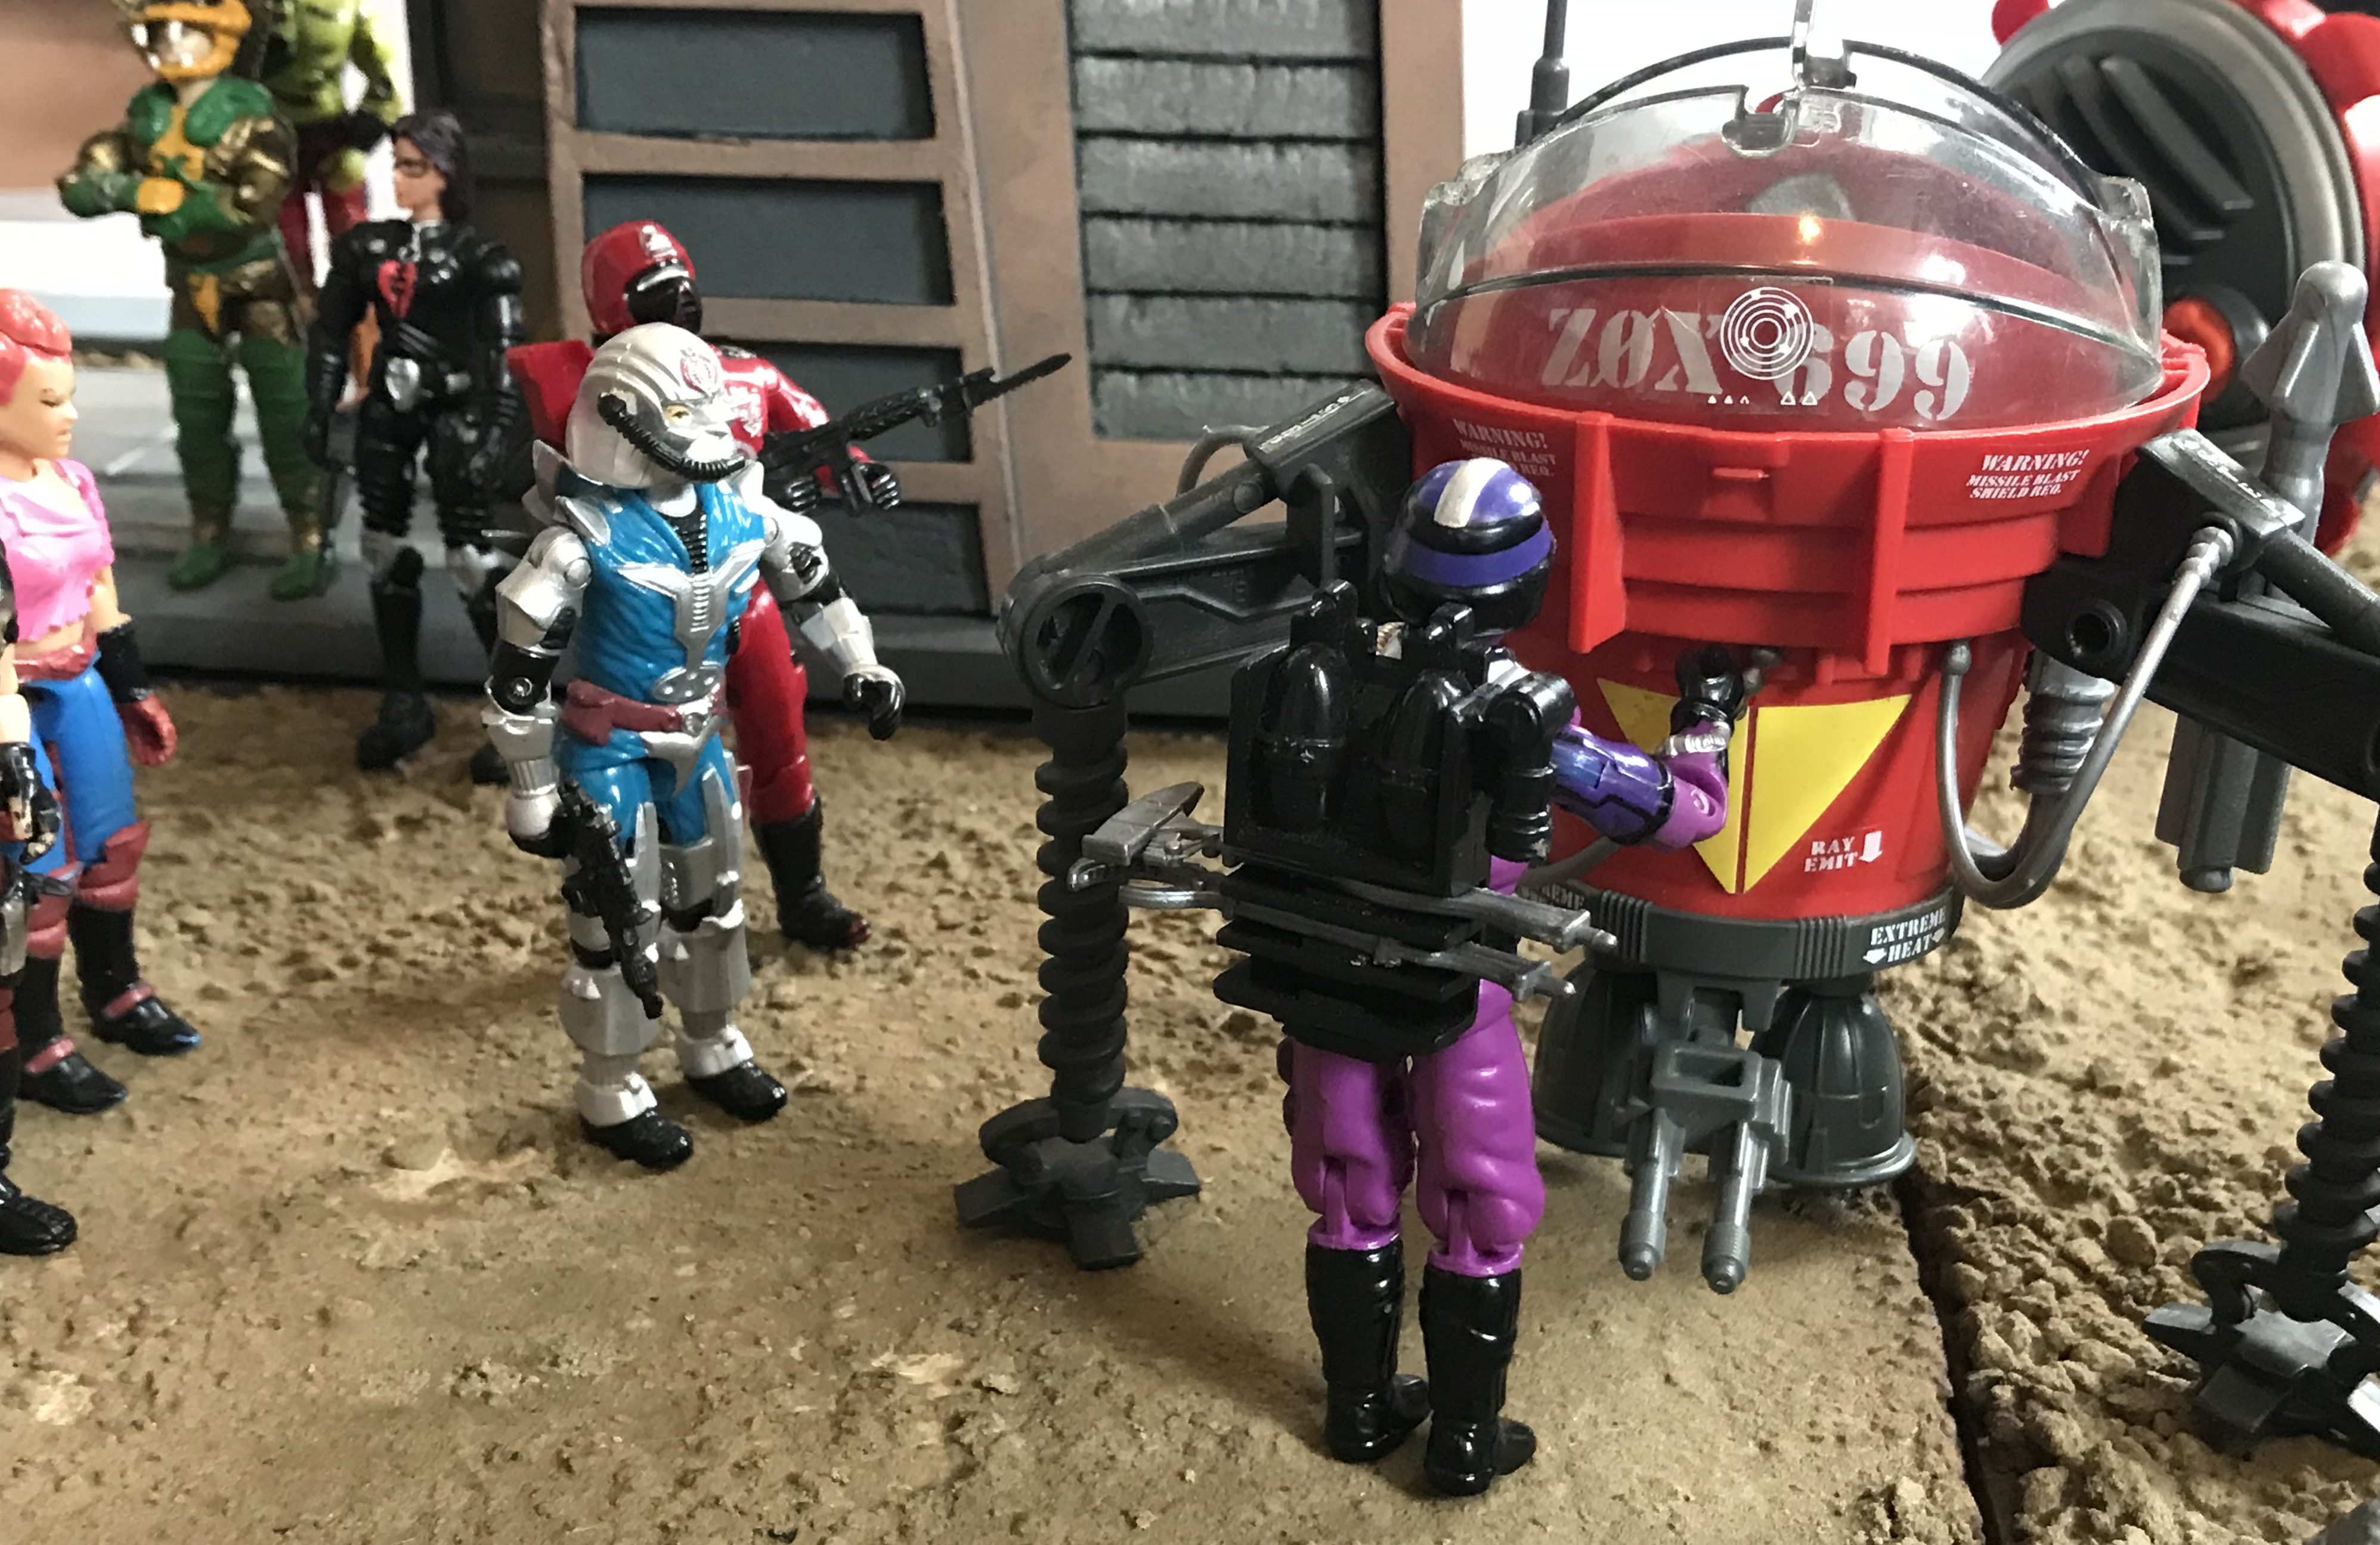
With barriers dry, it was finally time to put the completed model together and fill it with Cobra action figures and vehicles to show my client exactly what he has bought and some of the potential it has for him.


you will agree with me he will have hours of fun setting up his figures and taking plenty of pictures.


The final pictures of this completed commission diorama.


