Warehouse
I’ve been commissioned to create a warehouse display for a client, this piece will be 20″ x 20″ x 12″. The only specification my client has given me, is he would like two large windows on the central wall. What I have decided is one wall will have a door or two, sat upon a raised walkway running the length of the wall. The opposite wall I will add a garage door.
Building the Scene
To begin I have cut two pieces of 10 mm foam board for the 20″ x 20″floor and glued them together. The walls have also cut 3 x 20″ x 12″ of 10 mm and 3 x 20″ x 12″ of foamboard for the walls, then glued them together. I will be using the 6″ front of the walls as the display side and so far I’ve drawn in the brick work on two of the three walls.


I’ve added magnetic tape to the walls and floor and then finished marking up brickwork on the middle wall.
I’ve cut the two windows as requested for the back wall. The wall on the right I have cut away an alcove for the garage and an extra door. The next step is to make the raised walkway and cut the door alcoves for the left wall.


I have cut an L shaped walkway which fits in the top left corner. A doorway was cut out on the left wall, sitting on top of the walkway. I have added another section of foam between the two windows also marked out the brick work. It has been glued into place and clamped down while the glue dries.
To finish off while the glue dries I have cut two door from bolsa wood.


I started scoring round the brick work. Adding frames for the doors and fixing them into place. Glued the corrugated card into place and created a frame around it.


Painting the Scene
After getting the all clear from my client, I have undercoated this piece with black.


Let the painting begin!
Mixing burnt umber with white and dabbing it onto the brick work with a sponge. I then mixed up a dark grey and used that for the floor.


The client requested a free standing pillar be added to the build. Taking two 1.5″ x 12″ 15 mm strips of foamboard, I whipped up a free standing pillar, added the brick work and base coated black. When it’s dry I will use the same technique on it as I used on the walls.


Using a light brown I sponged it across the floor. I made up a dark brown wash and sponged across the walls and then over the floor after the light brown had dried. The pillar I dry brushed it with the light brown and then sponged the dark brown wash over it. The rear wall was dry brushed also with the light brown. The doors where airbrushed with gun metal grey.

Coming along nicely! 


The next steps will be to dry brush the other two walls before adding the greebles and the windows.
Today has been about the windows. I started by cutting a couple of pieces of perspex to fit the windows. I broke the the plastic to look like broken windows. I cut bolsa wood for the window frames and glued them into place.


The next step is to either use the plastic or use plastic film with tissue paper and fit it behind the frame.
I’ve finished building the window frames and painted them grey. I have added greebles to walls, cabinets with power cables running across the wall, a garage door control.


All that is left to do is to add “glass” to the windows, tissue paper to cover windows and the backs of the walls painted black.
Using a centre punch to create the bullet hole in the window, the panes have now been secured into place and this build is now complete.


I will post my usual final pictures as soon as I can.
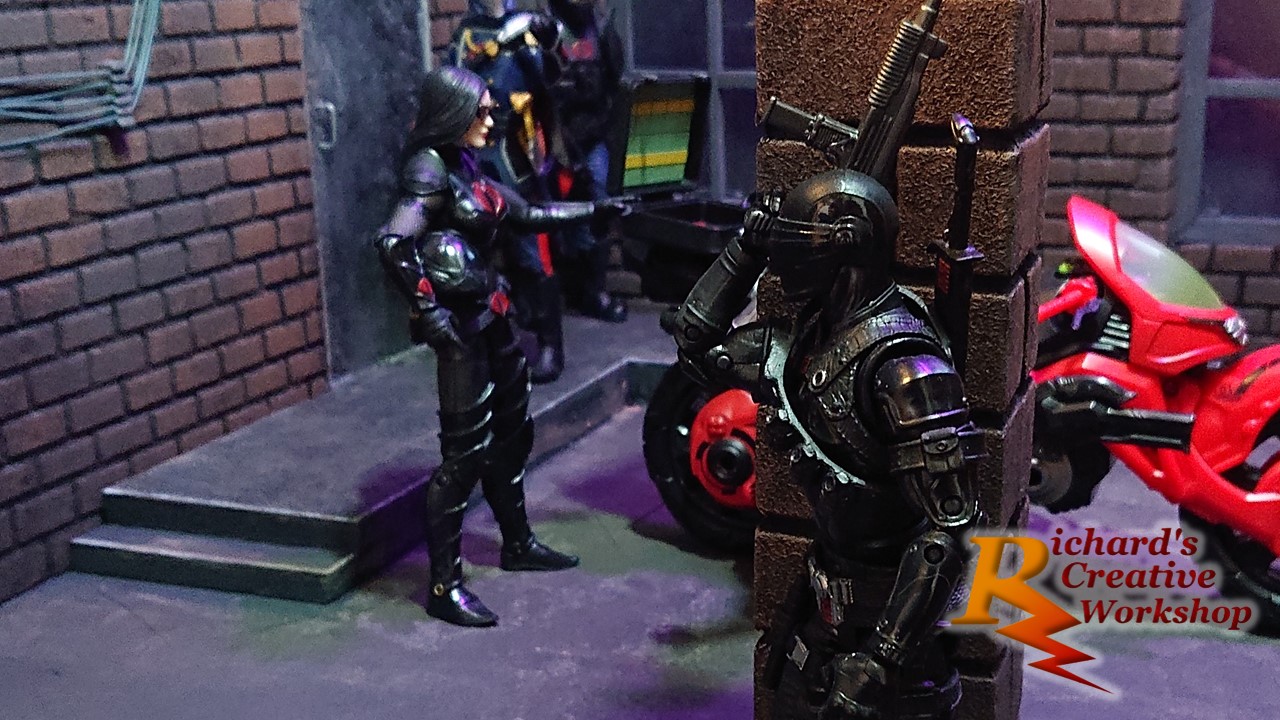
Final Pictures


Warehouse 


