Three Tier Building Diorama
I have been commissioned to create a three-tier building for a client. This piece is scaled for 6 to 7-inch figures and will include pavement, roof, alley and fire escape for my client to pose his figures on.
It will measure 55 cm x 39 cm x 35 cm, made out of foam board, held together with magnetic tape and designed to be flat packed for shipping and storage.
Building the Scene
So far I have cut out all three sides and broken them down into three. I’ve used both 10 mm and 6 mm boards which have been glued together for extra strength and added magnetic tape to hold them together. For the ground floor, I’ve cut out the door for the front and then marked out the brickwork for the first tier.


My next steps will be to carry on marking out the brickwork for the next two tiers before adding on cornerstones and two layers of borders running around the front to cover the joins of the tiers.
I spent time drawing on the brickwork for the middle tier and one wall for the bottom tier.


My next steps are to complete the drawing on the brickwork, widen the door and add windows to the middle tier.
I have marked our and scored the brickwork on all three levels. For the core, I have cut out 5 windows, 2 on either side and 3 at the front and widened the door. Using a ball of tin foil, I rolled it over each layer of the bricks to achieve a rugged texture.


I have added a couple of ledges running around the building demonstrated here by Snake Eyes. I will be adding another one to the roof and two smaller ones to where the bricks start and finish before I add the cornerstones.


It’s slowly coming together before I start work on its surroundings.
I have finished off adding the ledges, now it is time to cut out the cornerstones pieces. It’s not a big job but a very time consuming one!


Apologies for dropping off the grid, with the house move now complete and my new office all laid out and ready. I am now back to building dioramas and back with this large build. I added another layer of foam to the inside of the building which holds all 9 pieces securely in place. The cornerstones were cut out and glued into place on the front of the building. My next steps will be to add the window frames and the door.


I’ve been working on the exterior by scoring the detail into the cornerstones and rims. I cut out 5 window frames from a 6 mm foamboard and then used hot glue to glue them into place.
To finish off today’s work, I added a door made from 10 mm foam, etched in a bit of detail and then created a porch. My next step is to do work on the interior before creating the base for this to sit on.


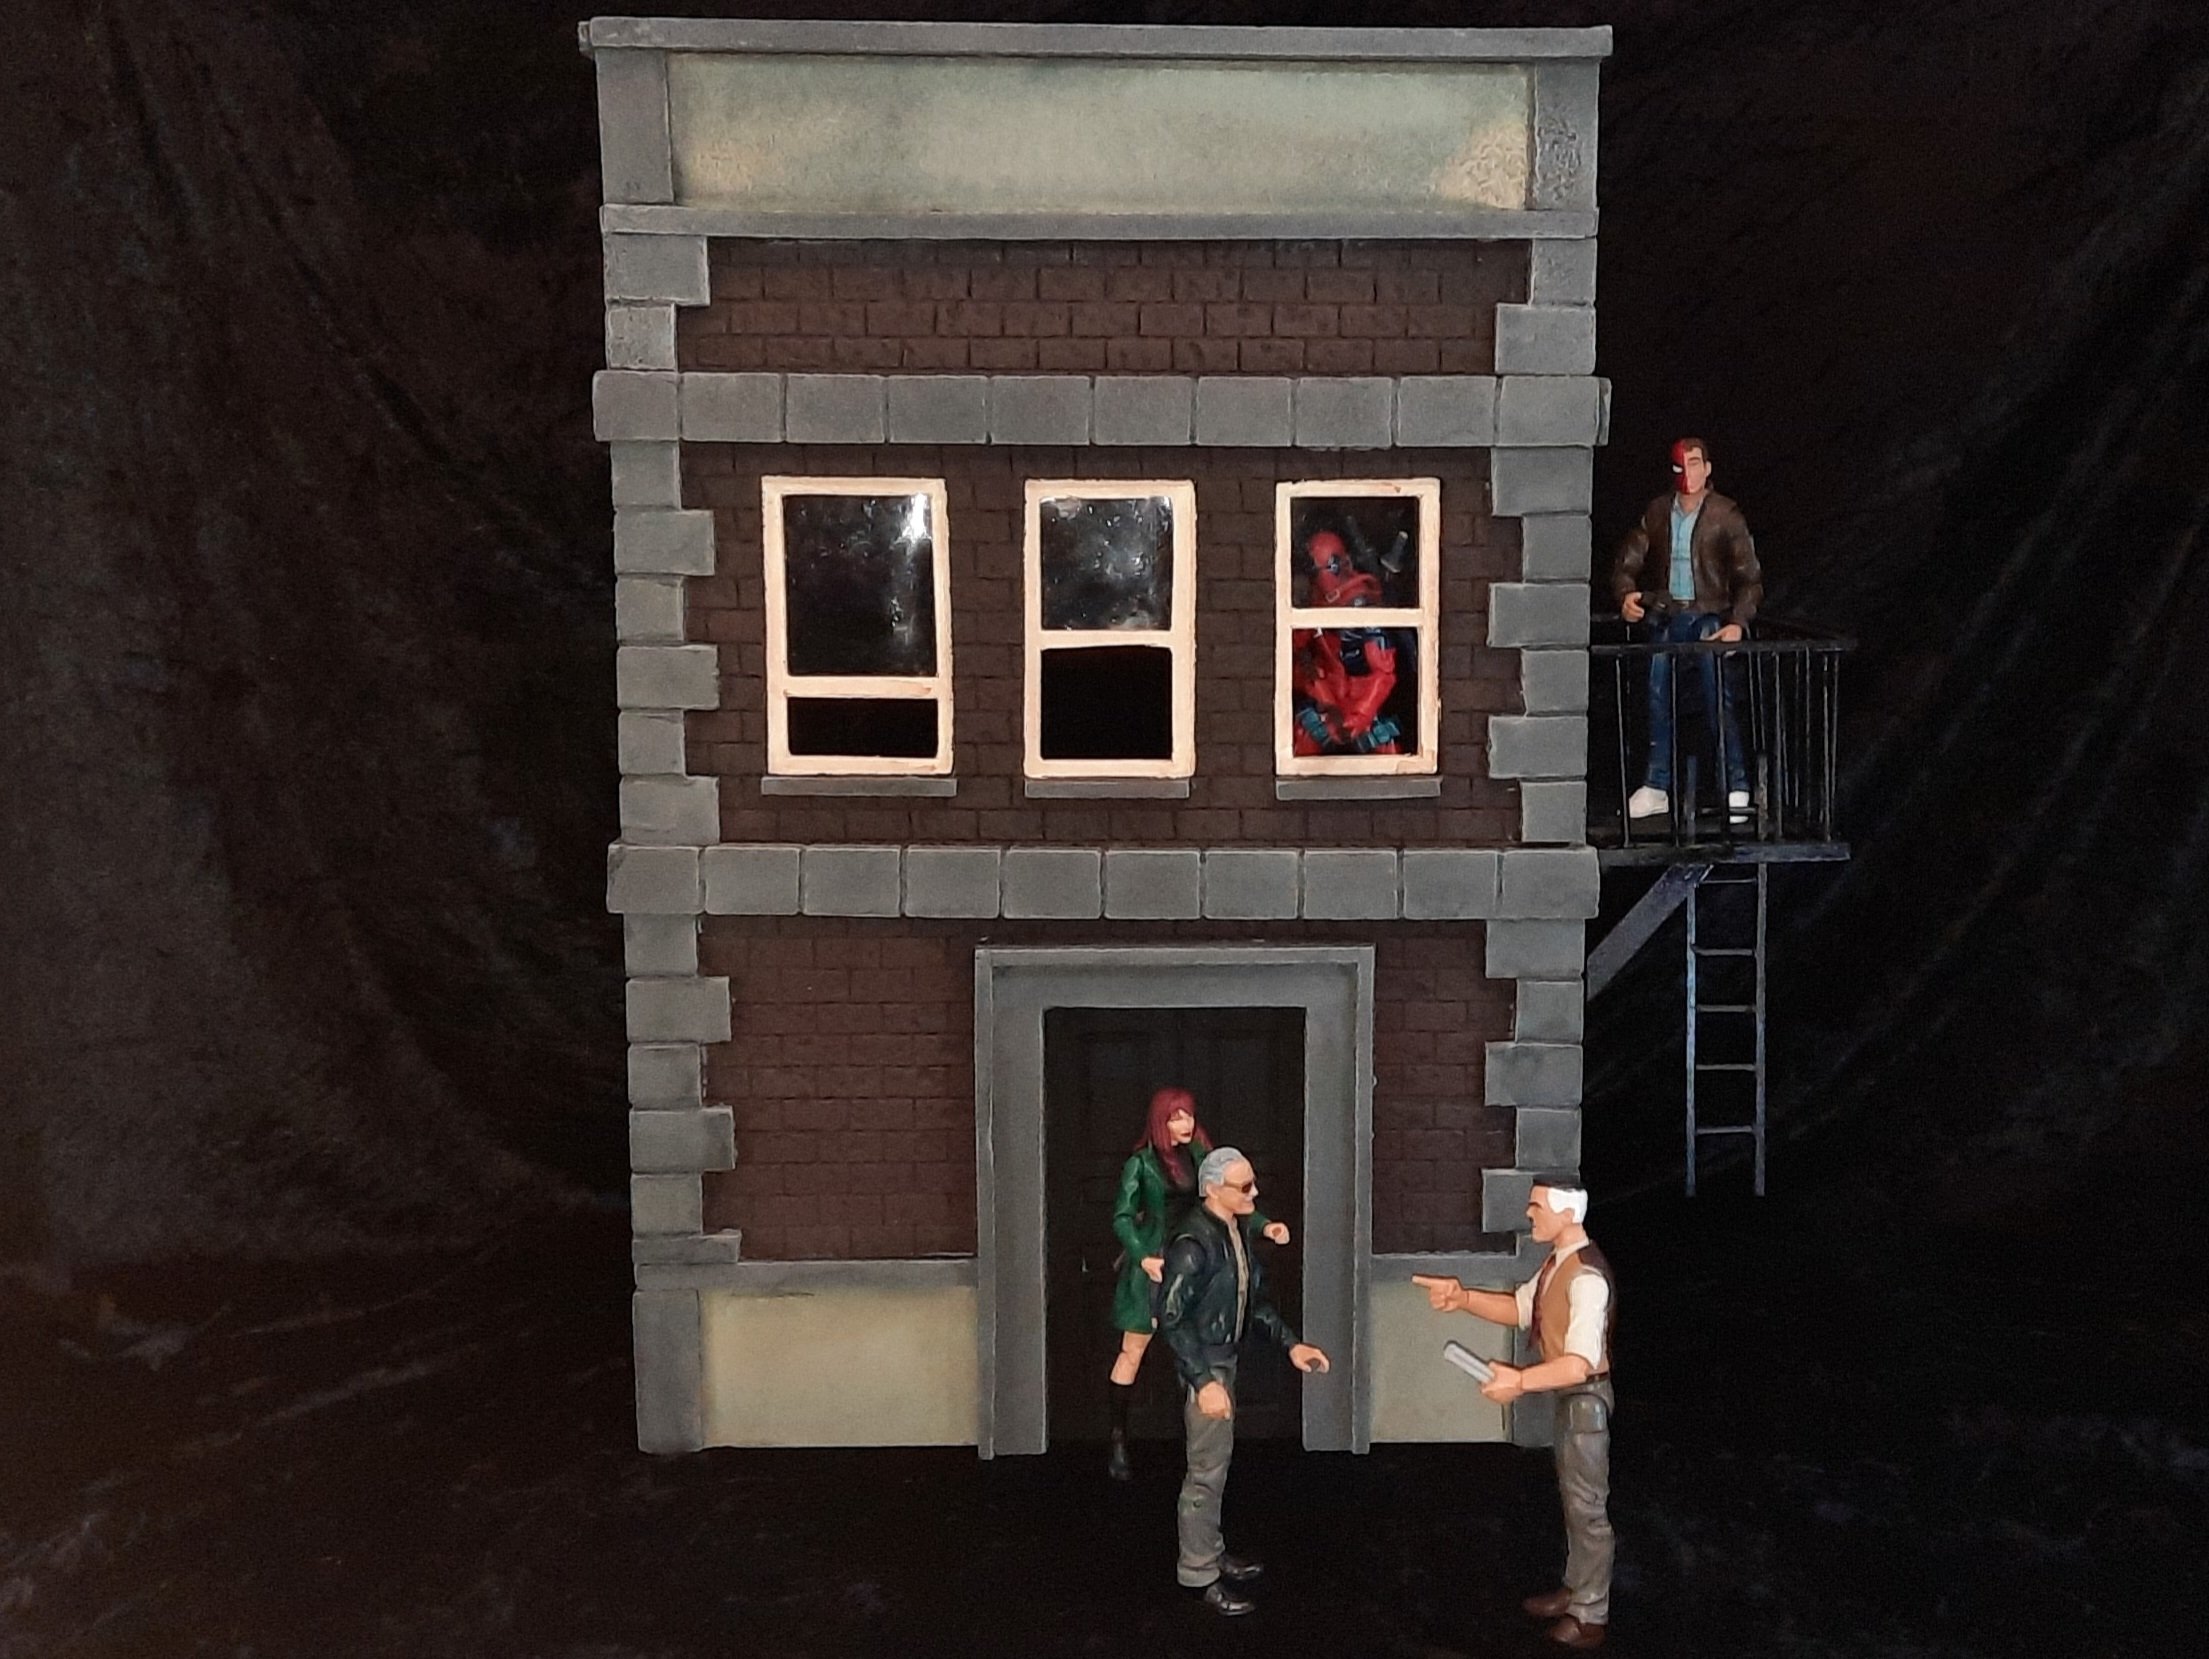
For my client to maximise the use of this piece, I have added a floor so my client has their figures either looking out of the window or as demonstrated by Deadpool, firing his gun out of the window at the people below.


I started by adding detail to the internal brickwork, marking out floorboards and using a metal brush to get a wood effect. Once finished I cut out a piece of 6 mm board and glued it to the underneath to strengthen the floor. Next, I added a pelmet and cut out a ceiling.


I am currently working on a fire escape for this building, it is made from balsa wood. As you can see I have made the escape, I now need to make the ladder for it.


I’ve been working on the fire escape, I started by building the ladder, glued it into place, and then added two braces and a perch to the underside of the fire escape. I added 3 dowels which slide into 3 holes in the wall which will keep the fire escape from falling off, making the fire escape removable and perfect for shipping.


Painting the Scene
Painting has begun! After applying a black undercoat, I painted the brickwork with burnt umber and red mixed, with a second redder coat and finished today by adding a black wash to the external bricks. On the wood floor, I gave it a coat of burnt umber and when dried I gave it a black wash. The fire escape has been given a coat of black gloss.


The next step is to paint both the bottom and the top tiles with cement grey before painting the cornerstones and borders.
I have painted the tops and the bottoms of the building front with a concrete grey. Then using a light brown I dry brushed all the brickwork (inside and out) to pick out the brick details.


My next step is to paint the cornerstones and borders a mid grey.
Mixing up a light grey, I applied the first coat to all the unpainted stonework. Once it’s dry I’ll add the second coat followed by a black wash.


I added the second coat of light and when it had dried I added a black wash over it. I applied a brown wash over the cement sections of the bottom and top tiles. For the ceiling of the room, I gave it a coat of magnolia, along with the skirting boards. Once it had dried I applied a brown wash over them. For the roof, I dabbed on grey paint using a sponge and then added a brown wash into the recesses of the roof.


The window frames have been painted and are now ready to have the “glass” fitted. All the grey bricks and rooftop ledge I dry brushed with a light grey, using greenstuff I made a couple of door handles.


The next step is to paint the doors and sort the glass out for the windows.
Final Pictures


