Teenage Mutant Ninja Turtle Sewer
I started this build a while ago but put it down to concentrate on commissions I had on the go. After building three sewers I wanted to have one to expand upon the TMNT Lair I built earlier this year.
Building the scene
With the structure already made I have drawn on the brick work ready to score on the walls. I have put down the walkways as I have done in the past.


I have scored the brickwork and walkways slabs, just need to build the central sewer column for the water run out from.


I’ve made the central sewer grate, cutting a piece of board 6″ across with two sides at 1.5″. I’ve scored the brick work, cut a semi circle hole for the grate. Using my rotary tool I’ve sanded imperfections onto the brick wall and back wall. I’ve done the same with the two walk ways.


I have repeated the same process with the two side walls, also adding a small piece of pipe which juts out of the left wall above the small trench in the walkway.
I have cut a cardboard straw and used these for the bars to the grate and put down a sheet of water effect (the same stuff I have used before). With this done, I am now ready to paint these before adding in extra pipes and cables.


Painting the scene
For the base coat I have sprayed it with black chalkboard spray paint.


Mixing up a light grey and rolled it onto the internal surfaces of the sewer. Once dry I added burnt umber into the mix and rollered this on top of the grey. I added crimson red to brown and painted the sewer tunnel, grate and borders of each walkways.
When this is dry I can start dry brushing the walls, painting the pipe, grate bars and adding the extra pipes.


I’ve dry brushed light grey over all brickwork including the floor. In between the larger cracks and fractures of the bricks I have added some of GW Agrax Earth shade.


I also used Agrax Earth shade on the small pipe, then highlighted with GW Brass Scorpion and then GW Runelord Brass.
The ladder I’ve painted it with GW Leadbelcher, shaded with Nuln Oil and then highlighted with GW Stormhost Silver.


I’ve finished by gluing the river sheets to the floor.
Using hot glue for small trench an the pipe, when it had dried I painted it with GW Nurgle’s Rot.
Unlike my previous sewer builds I decided to dry brush the ripples of water using GW Elysian Green and Baharroth Blue. Once that was finished I glued the two walkways into place.
I cut a couple of lengths of pipe, sprayed them silver and glued one to the right wall and the other smaller length to the back wall. I then shaded them with GW Nuln Oil and then coated them with GW Nihilakh Oxide. I’ve also added a couple of lengths of cable and added a junction box.


Finishing Touches
The finishing touches are now done, I have added a couple of decals along with sanding and painting the borders.


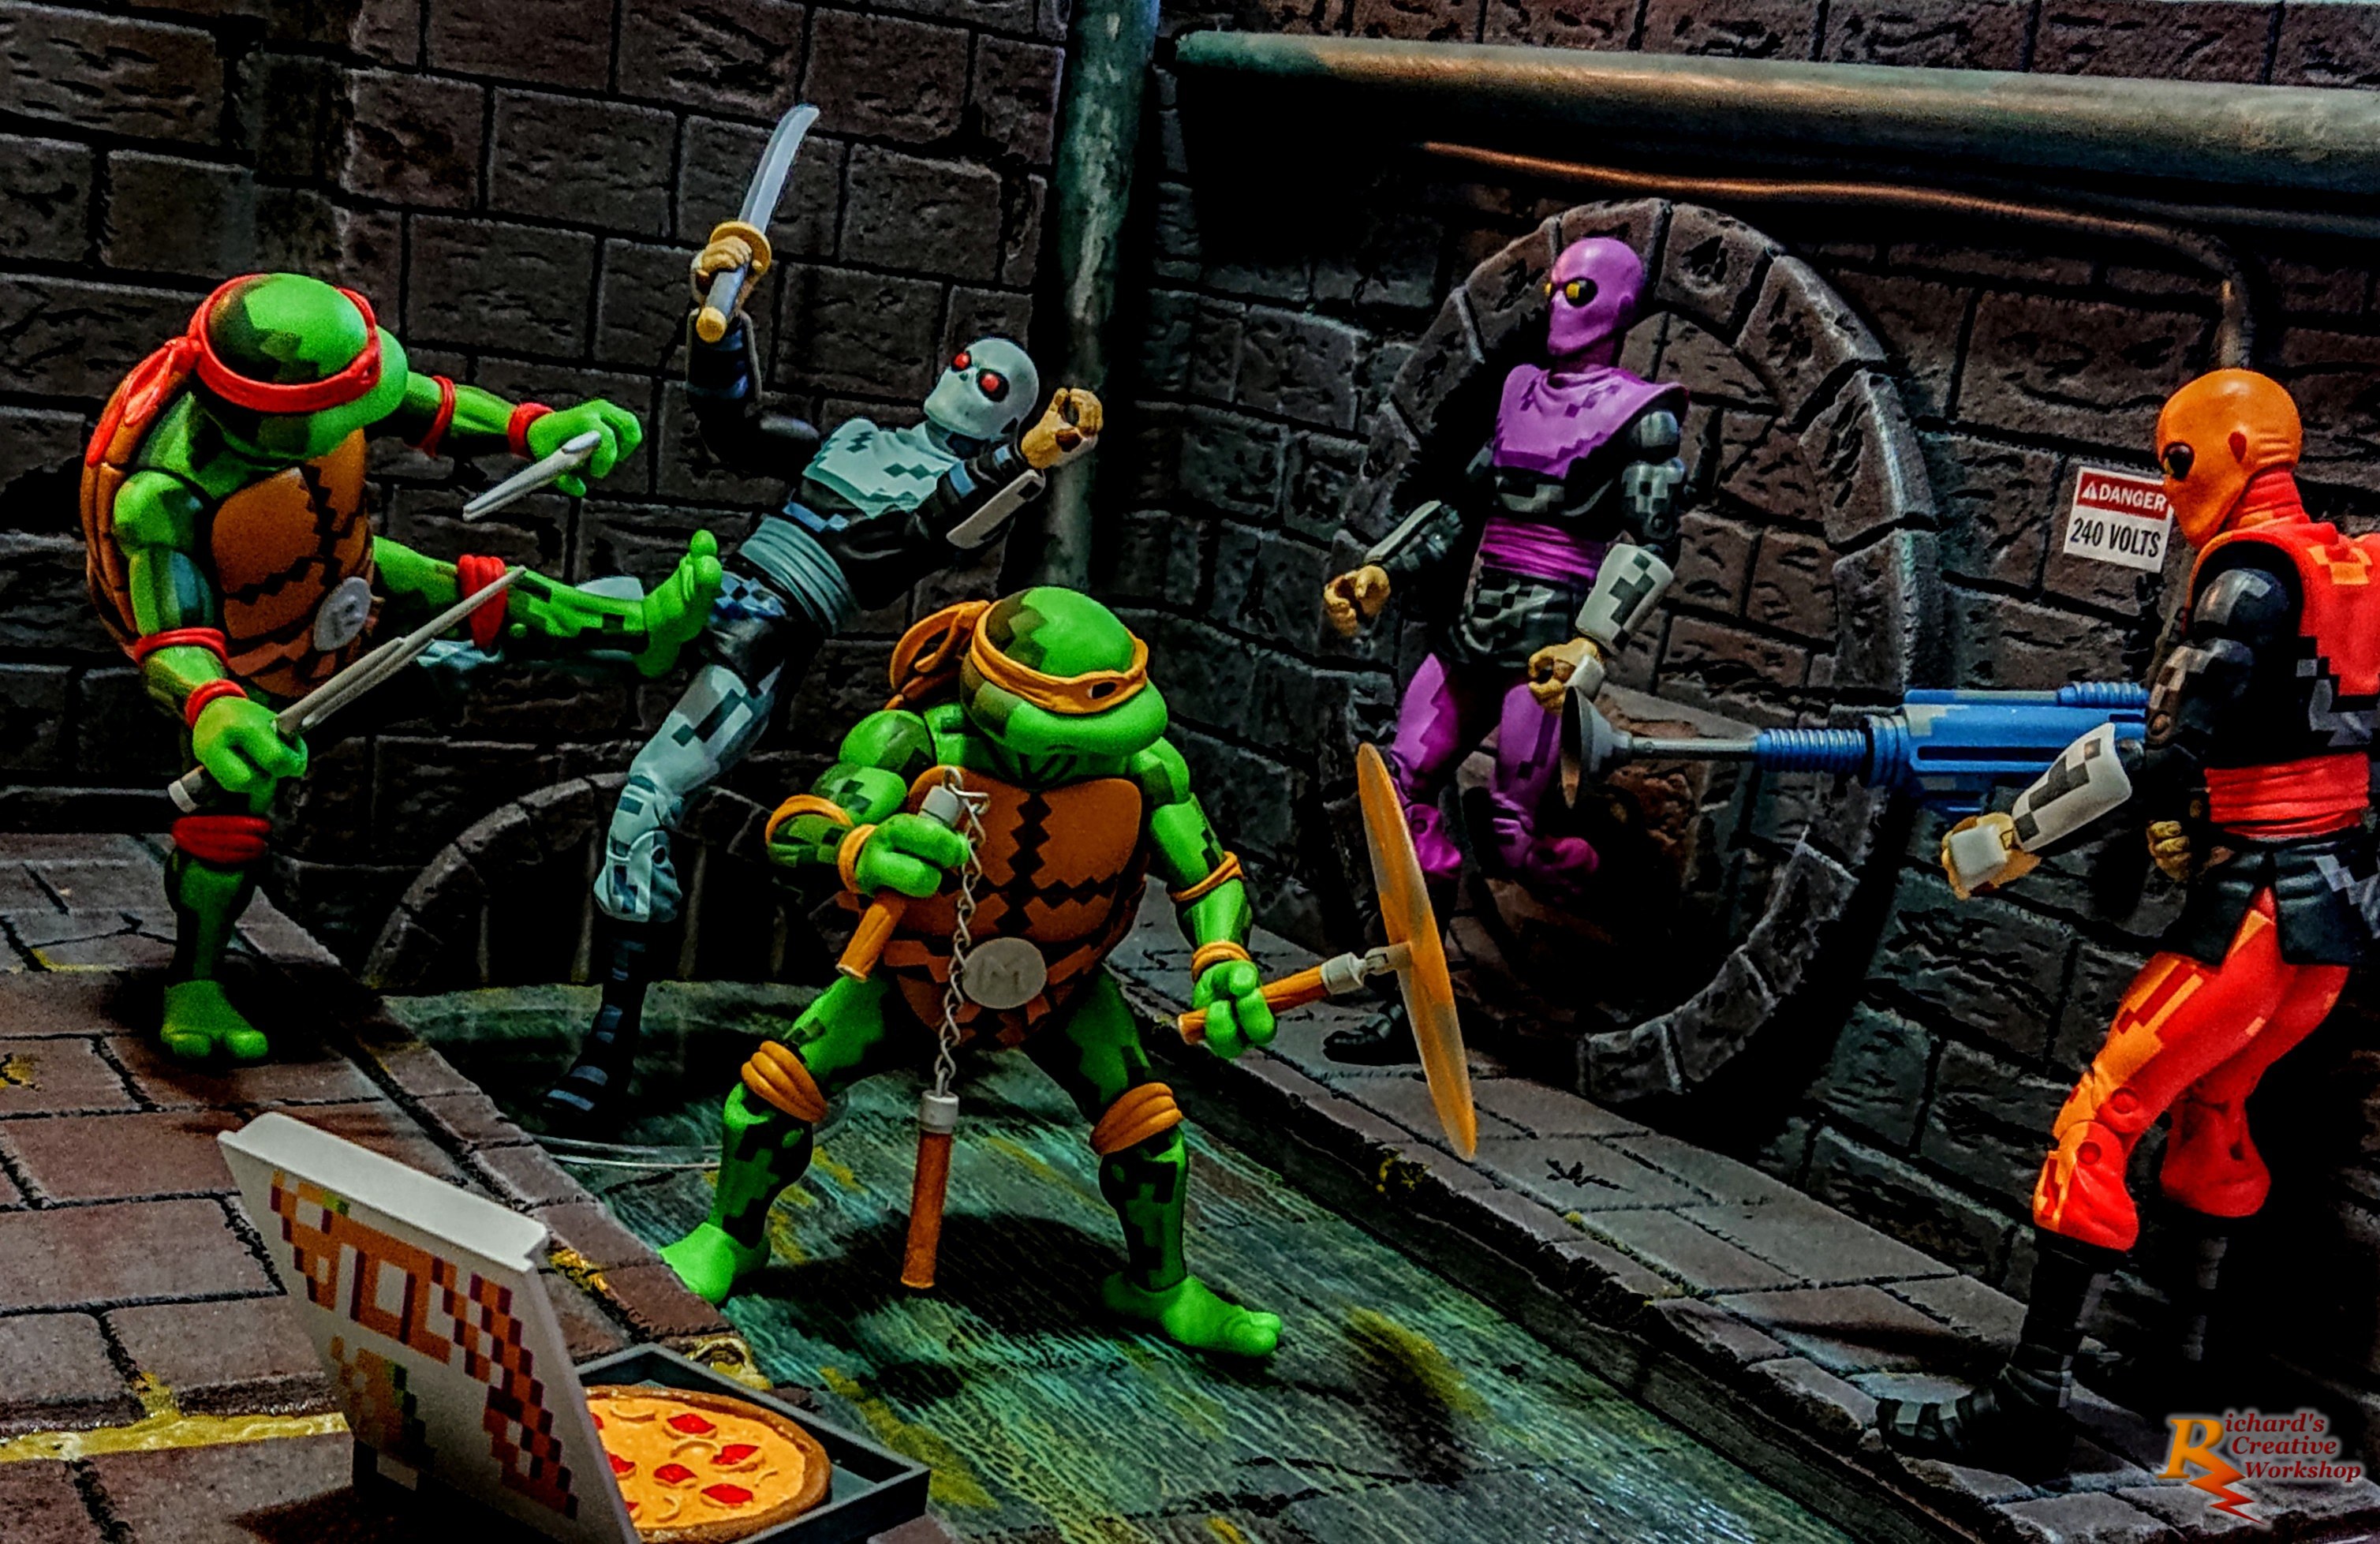
Final Pictures


