Nevarro Modular Displays
To start this year’s new builds I’m creating four Star Wars displays, like the ones I built last year. These pieces will be themed around Nevarro, they can be individually displayed or placed alongside each other to make a street scene. Perfect to pose you Star Wars Black Series on.
The measurements are 12″ × 9″ x 6″, and each one will be handcrafted and painted. The price is £45 each plus postage, if you would like to purchase one, please contact me or online through my shop page.
Building the Displays
Its measurements are 9″x 12″x 6″, made entirely out of foam board, for each piece I have glued two pieces of 10 mm and 6 mm on the wall using PVA glue. When it’s dried, I’ll cut off the excess and sand it down before cutting out doorways and adding facial features.


After sanding down the sides, I cut out a doorway, using a piece of 6 mm foam for the door. I cut various lengths of foam for the surrounding decor, and scored out the detail on the door.


The first of the Nevarro diorama displays is now built. Three more to go!
The second Nevarro is almost finished. Before I can fix it to the base, I need to sand the bottom, glue the extra detail onto the fascia and score the door.


Just a couple of things to add onto the second one, then on with the 3.75″.


Finished the door on the second diorama, this is now ready to be painted.
I’ve been asked to make the next two diorama displays for 3.75″ figures. These are again based on Nevarro from The Mandalorian series. The measurements are 12″ x 9″ x 6″ but doors scaled for 3.75″ Star Wars figures. Kyle Katarn is modelling the first of the completed two.


I finished the build of the second facade, by cutting in a door on the left, and adding strips of foam to create the overall facade look. I added an extra layer of 6 mm foam with an oval window then scored in shutters onto the underneath layer.


Instead of making these two separate pieces like the other two, I decided to make these pieces interlocking. To do this I made a new piece which will be a floor, the bottom layer of 6 mm foam is 11.5″ as previously but the top piece I cut out is 12″ long. When I glued the two pieces together, it created a lip, to which I returned to one of the original pieces I made to be a floor and cut out a 0.5″ width strip from the top layer of 10 mm foam, creating a step, therefore, the two pieces can now slide together. Simple but effective.


All that needs to be done now is to glue the facades to the floor and then they are all ready to be undercoated.
Painting the Scene
After applying a black undercoat I base coated the four pieces with a light grey using my airbrush.


Using my airbrush to apply different tones of grey over these pieces. Applying gunmetal grey to the doors of the larger pieces, a brown and metallic brown doors to the smaller dioramas. I would like to darken the floor and still need to finish the doors before calling these complete.


I wasn’t happy with a floor of 3.75″, using scenic foliage and stone on a base of PVA glue. I have shaded the crevices of the doors and windows and edged the walls. I have just some final touches to do and these will be completed.


For the 6″ dioramas I have added scenic foliage to the base, exactly like I have done for the other two. I have also added a layer of fine grain sand to fill up the crevices. I have also painted a couple of straws and glued them to the sides of the two 6″ dioramas.
When the glue on the floor has dried, I will apply another layer over the top binding the stone, sand and foliage together.


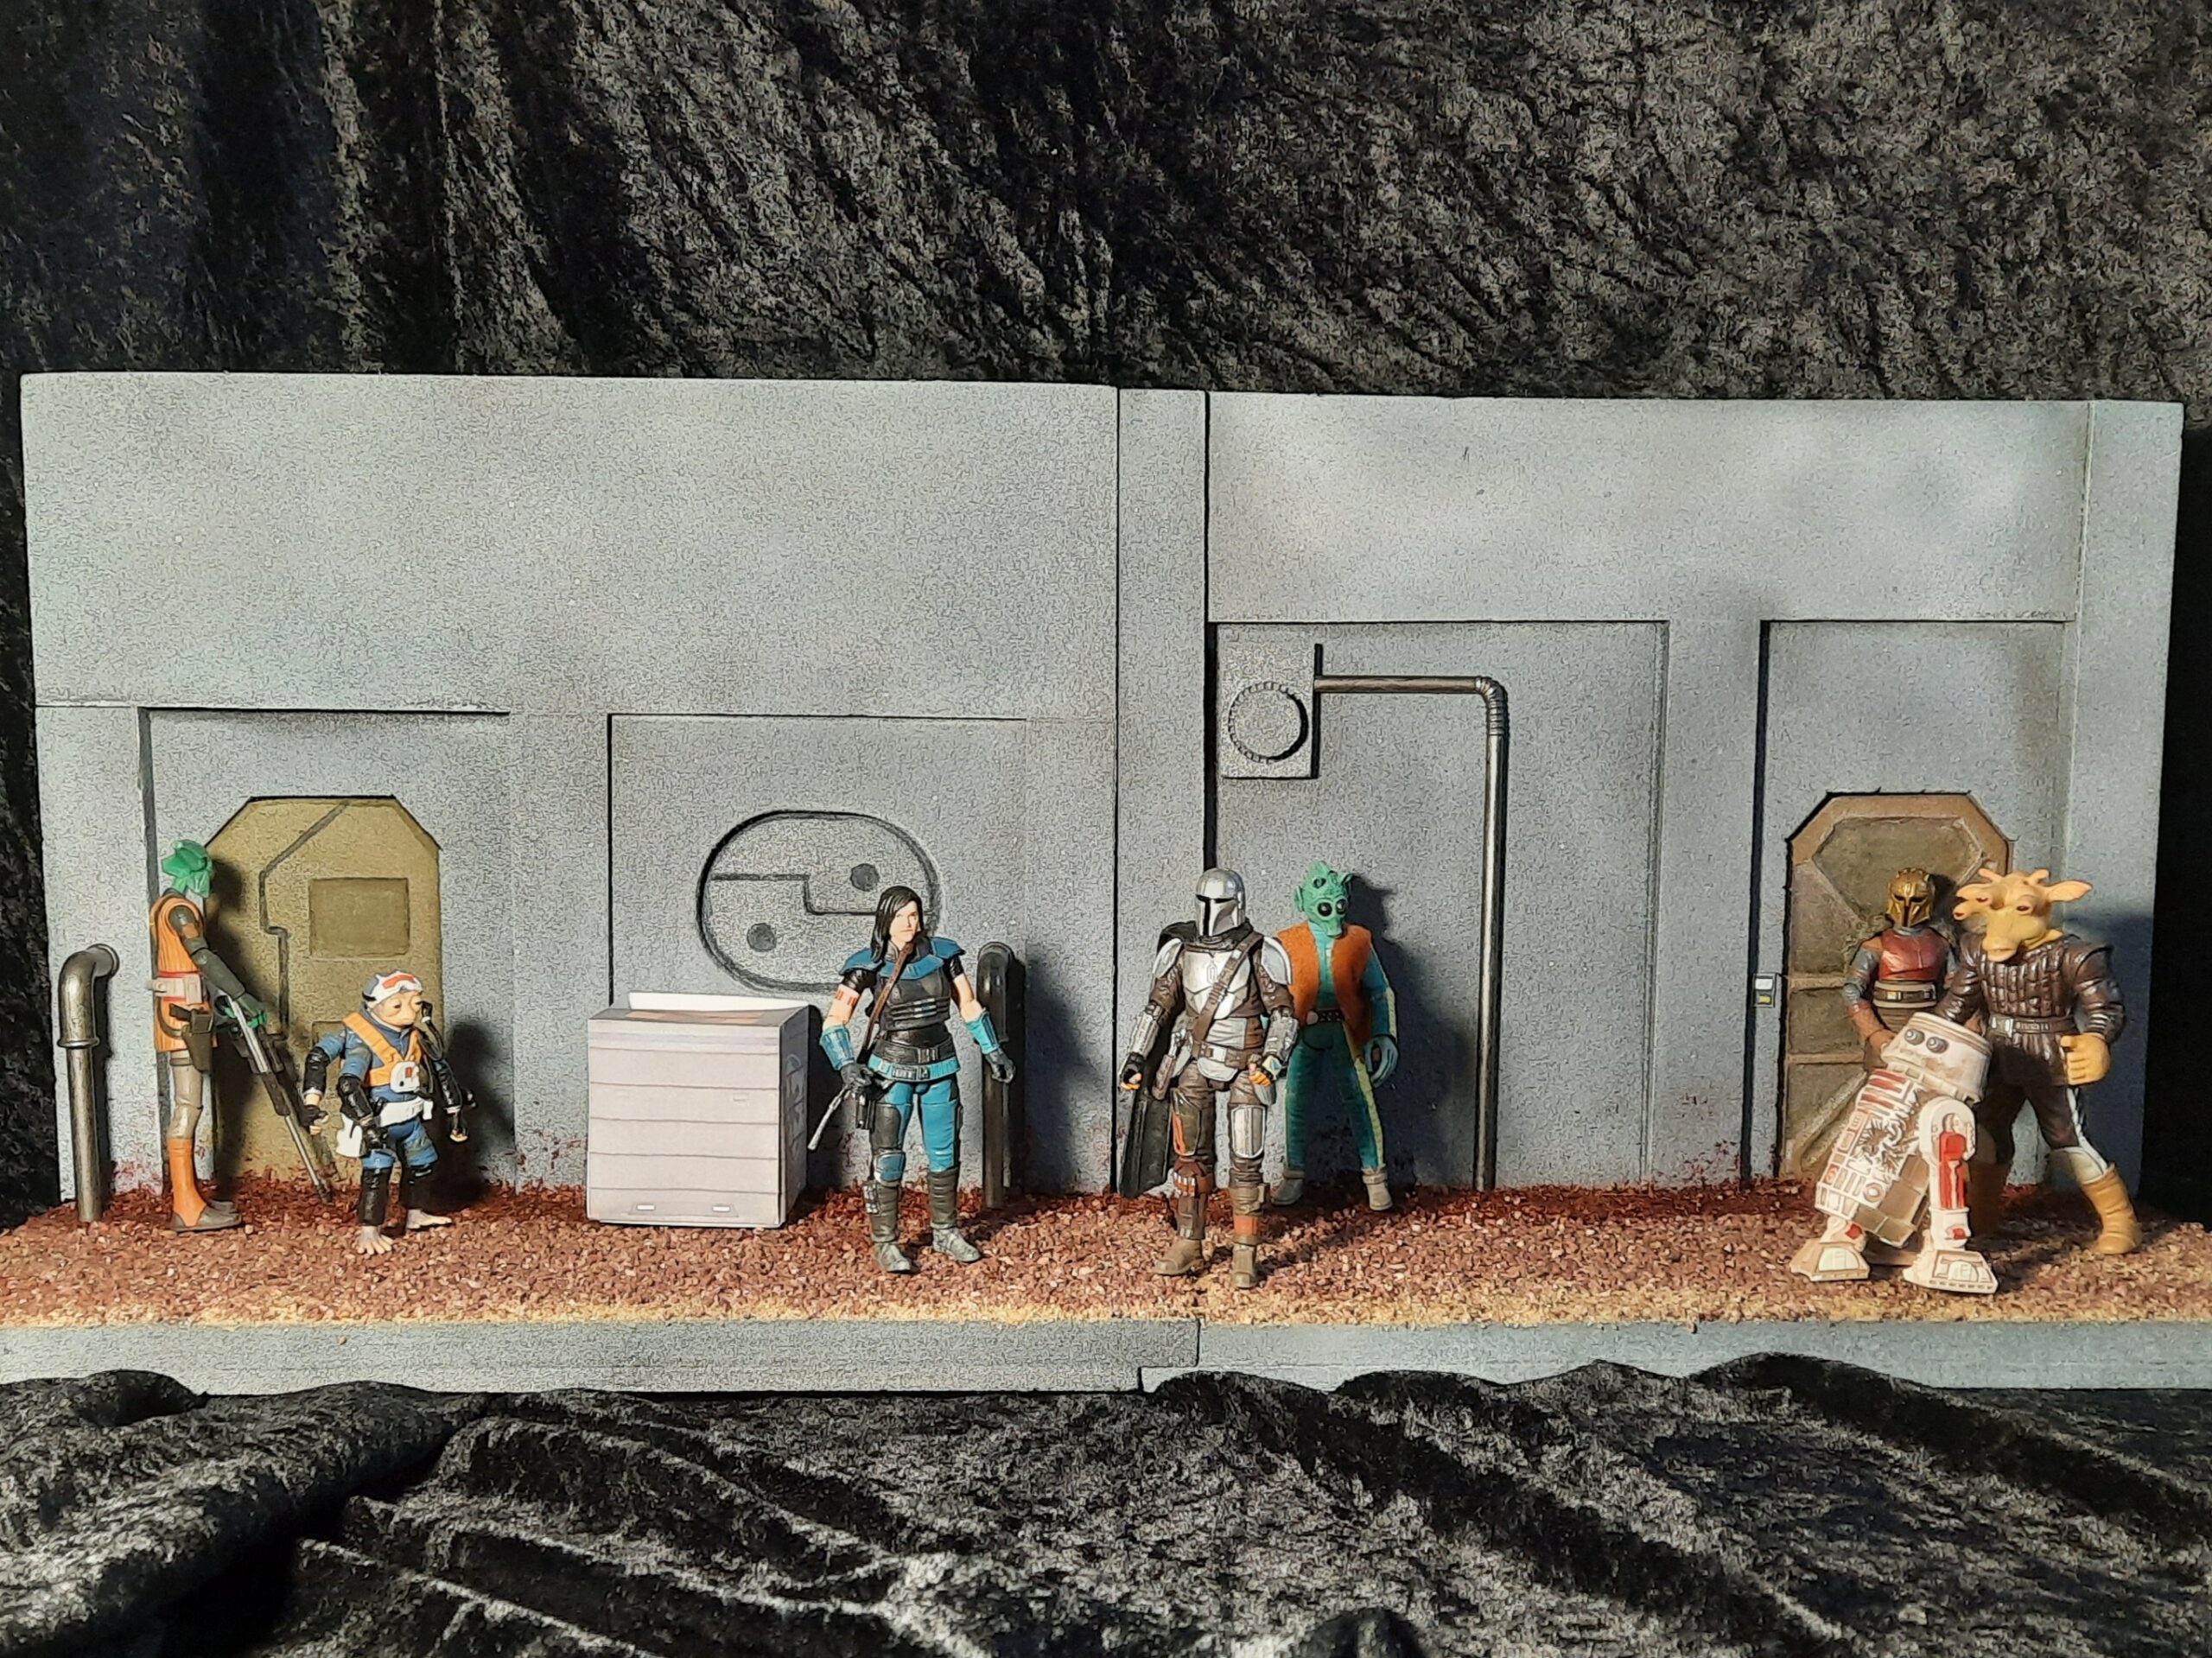
I have finished these two scaled for 6″ figures. I completed this piece by spraying adhesive over the floor and dry brushing the pipes and doors. Each can be individually displayed or placed alongside each other to make a street scene. The measurements are 12″ × 9″ x 6″ perfect to pose you Star Wars Black Series and create a scene from The Mandalorian.


To purchase one of these or have one made to your liking either go to my shop page or for a bespoke diorama contact [email protected].
The owner of the 3.75″ versions requested to have a couple of pipes added as well. I have painted up three straws and have placed them on the set.


I know I said I was finished with the 6″ build. Well, I decided one of them need an awning and each door needed a panel. The fabric is a dried baby wipe painted Burnt Umber on both sides, which helps up with skewers painted grey.


Finished the 3.75″ pieces, just need to take final pictures and then these can be shipped to their new owner.


Final Pictures
3.75″ version


6″ version


