Church Ruin
After spending the past couple of months doing nothing but Doctor Who sets, I thought it was about time to do something different. This series of dioramas I wanted to a quick, simple but effective models which can be used for any five inch or bigger figures.
Building
To start this series off I have gone with a room in a ruined church, using the same basic size as my Apartment Room 2 diorama I did last year. To start I cut a the base piece of foam board 8″ x 15″, then starting with the left wall I cut a piece 8″ x 11.5″. I wanted this to be a tall medieval window, I marked out three tall long windows and then cut them out. Taking some black 6 mm foam board I cut a piece out to match the display size of the last the piece, marked out three arches that would go round each of the three windows and glued that onto the first piece. Two long strips of 10″ x 1″ where then glued to either side of this wall, brick work was then carved into these two pieces. To give it the ruined look, I marked out where I wanted to cut pieces out, cut into the foam and then ripped out the unwanted pieces.


The middle wall was done but cutting a piece of 10 mm foam foam board to 11″ x 15″, marking out each brick as 1″ x 1″, carving them out then putting in cracks in the bricks, weathering them before taking big chunks out of the top of the wall like I did with the window.


With the floor I marked out slabs of 3″ x 4″ then treated them as I did with the middle wall. I then stuck a piece of 6 mm black foam board 2.5″ x 8″, glued it down to the far right corner. This is to be the entrance to the room, I carved out 2″ x 2.5″ slabs on it and then weathered this to match the other.


The right wall I cut out an arched door and like the window opposite, using a piece of black 6 mm foam board I cut out an arch way to go around the door. I marked out and carved 1″ x 1″ brick work on this wall. Glued a 1″ x 8″ pelmet over the door, marking out 2 x 0.2″ top and bottom border, taking my rotary tool and sanded out the middle. This wall like the others I cut out chunks of the wall to give it the ruined effect.


Using the cut away sections from the walls, I have placed them around this diorama to add to the ruined effect.


I cut a couple pieces of bolsa wood to used for the doorway, marking out and scoring in slates of wood. Using a wooden coffee stirrer, I cut it up and used it to make the door hinges.


Painting
First coat of paint has been applied, a light grey/brown acrylic mix has been used to cover the entire of the inside of the scene. A dark brown for the inside of the door.


Waiting on a delivery of magnetic tape, it was time to start painting this. A base coat of a light grey mixed with a little brown over the entire diorama. Brown for the base coat of the door.
When it dried, a second coat added to exposed first layer of foam board walls. A darker grey was used on the floor, large wall and the side walls 2nd and 3rd foam board layers. Dark brown wash over the floor and areas of the walls for weathering.


The magnets are in place to hold the walls in together. I’ve used magnetic strip for the bottom of the walls and small magnets placed into the corners to keep the walls together.


For the door I have made a door handle, two bolts and rivets for the hinges out of green stuff. When it has cured I’ve given them a coat of black gloss and when dry I will age them.


To add to the scene I have scattered small piles of scenic ballast around floor.


I went over the black gloss and the ballast with a light grey wash to weather them and match the surroundings. With all of this done, this diorama is now complete.


Finished piece
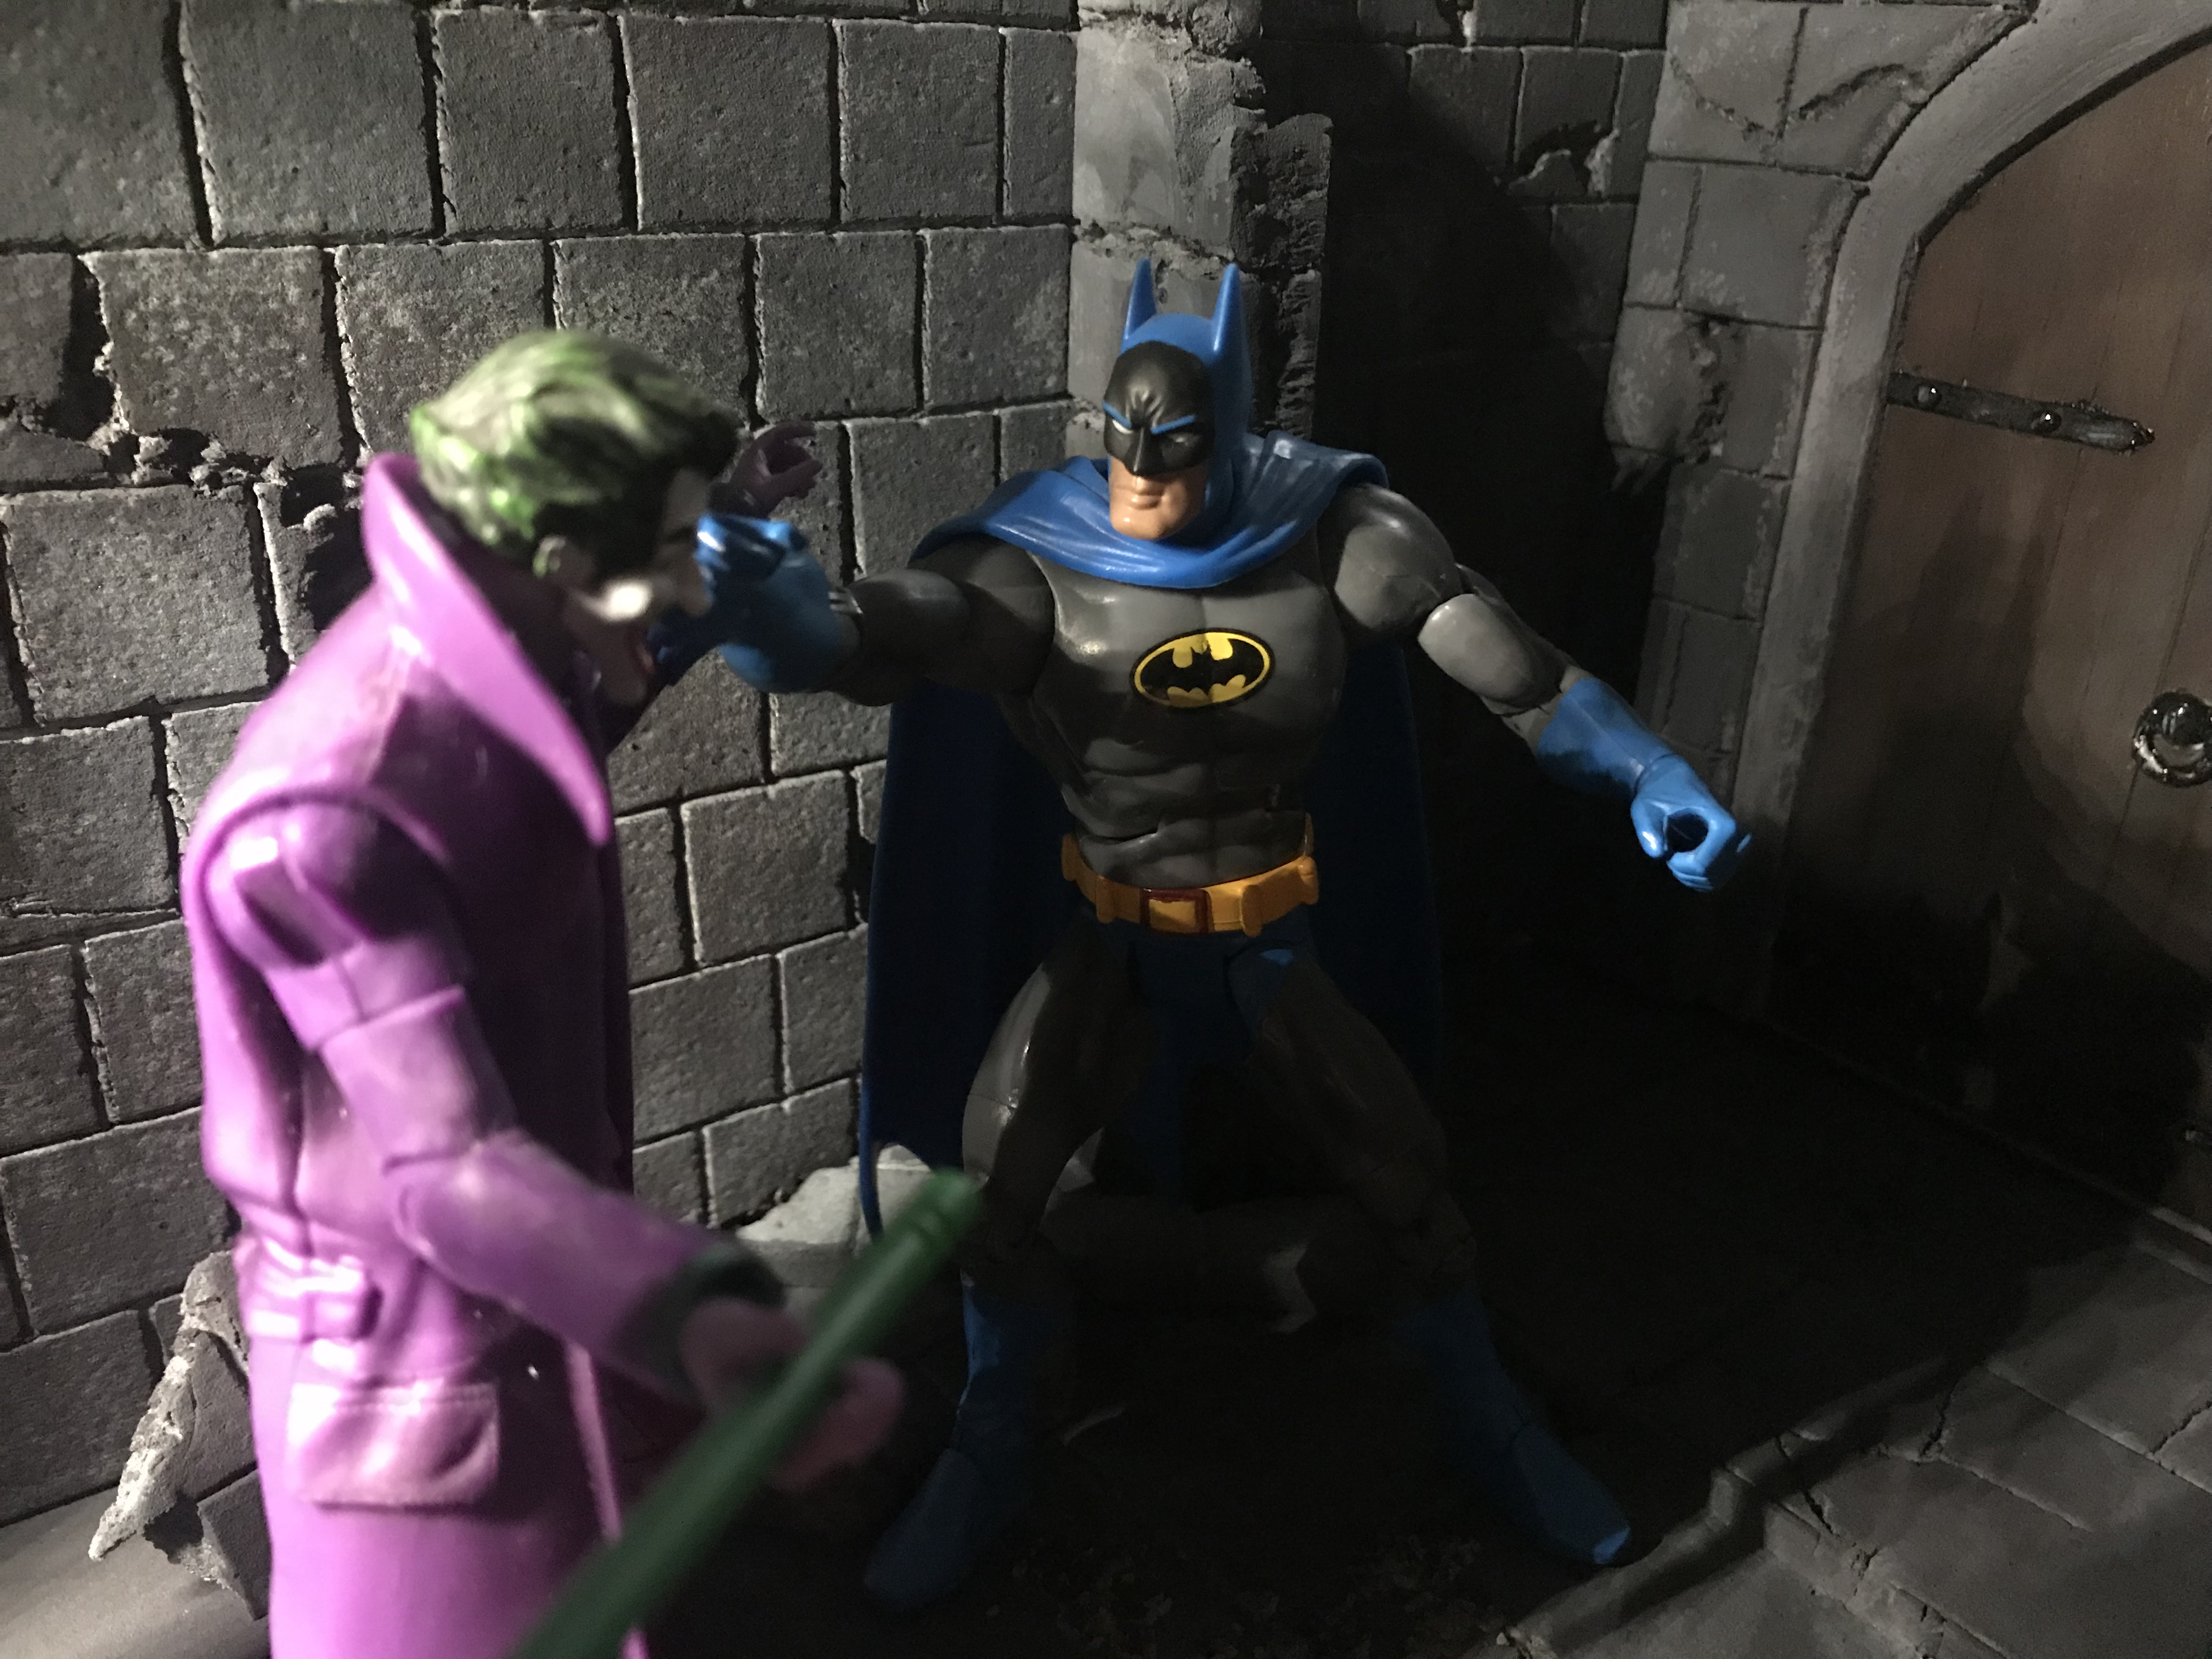
Here are a few extra pictures showing that this diorama can be used for multiple action figure genre’s.


